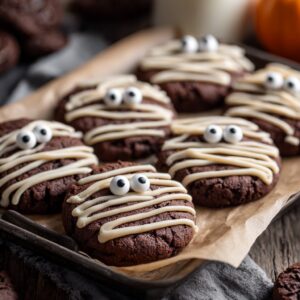
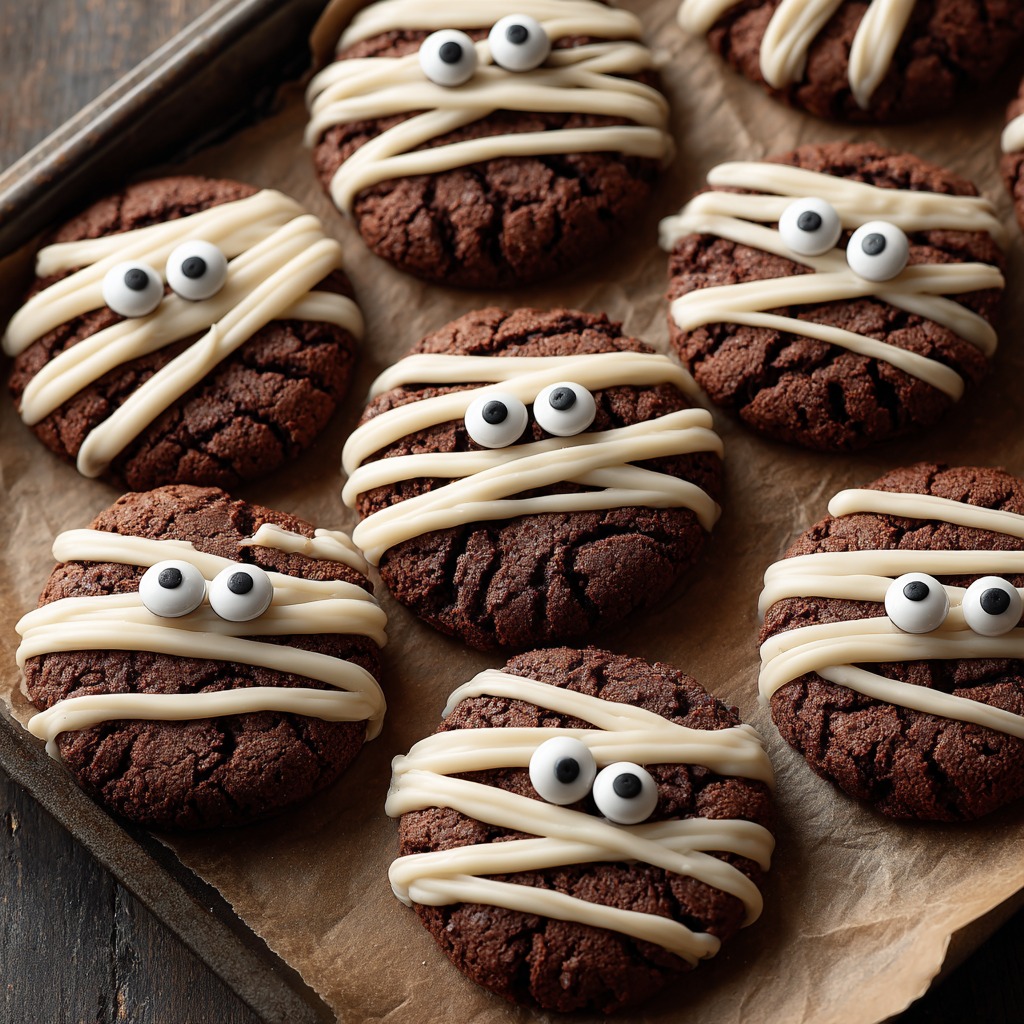
First of all – thank you for stopping by! If you’ve been here before, you know I love sharing recipes that bring people together with a little creativity and a whole lot of flavor. And today’s recipe? It’s spooky, sweet, and surprisingly simple. These Halloween Mummy Cookies are my go-to when I want something festive but low-effort, and they always get a reaction. Whether you’re hosting a Halloween bash or just want something fun to make with the kids, these mummy cookies are a must.
Halloween Mummy Cookies are buttery sugar cookies topped with a layer of creamy white chocolate “bandages” and little candy eyes peeking through. They’re more cute than creepy, and incredibly fun to make. Want the recipe sent right to your inbox? Just subscribe below and I’ll send it over with some of my other Halloween favorites!
What Are Halloween Mummy Cookies?

If you’ve never seen mummy cookies before, you’re in for a treat (not a trick 😄). These are typically made with a simple sugar cookie or shortbread base, and decorated to look like mummies by drizzling melted white chocolate across the top in “bandages.” Add a pair of candy eyes and they instantly come to life!
They’re fun, fast, and so easy to customize. You don’t need to be a pro baker to make these look adorable – I promise.
Why You’ll Love These Halloween Mummy Cookies
Kid-friendly – No sharp tools, no complicated steps.
Quick to make – The decorating takes less than 15 minutes!
Perfect for parties – Great as edible décor or dessert table treats.
Make ahead – These keep well for days, so they’re ideal for prepping ahead.
What Do Halloween Mummy Cookies Taste Like?
The base of these cookies is soft and buttery with just a hint of vanilla – classic sugar cookie vibes. The white chocolate drizzle adds a creamy sweetness without being overwhelming, and the candy eyes are just for show (though yes, they’re edible and sweet too!). The combo of crisp edges, soft centers, and smooth white chocolate makes each bite perfectly satisfying.
Healthier Than They Look (Sort of!)
Okay, let’s not pretend these are kale chips – they’re still cookies! But you can control the ingredients by making them from scratch: organic flour, grass-fed butter, less sugar, or even swapping in gluten-free flour if needed. Plus, when you make them at home, there are no preservatives or funky fillers.
Ingredients for Halloween Mummy Cookies
Here’s what you’ll need to get baking:
2 ¾ cups all-purpose flour
1 tsp baking powder
½ tsp salt
1 cup unsalted butter (softened)
1 cup granulated sugar
1 large egg
2 tsp vanilla extract
1 cup white chocolate chips or melting wafers
Candy eyes (you can find these at most grocery stores or craft stores)
Tools You’ll Need
Mixing bowls
Hand or stand mixer
Measuring cups and spoons
Baking sheet
Parchment paper
Cooling rack
Spoon or piping bag (for drizzling chocolate)
Ingredient Substitutions and Add-Ons
Gluten-free? Use a 1:1 gluten-free flour blend.
Dairy-free? Try vegan butter and dairy-free white chocolate chips.
Want flavor? Add almond extract or lemon zest for a twist.
Color variation: Tint your white chocolate with gel food coloring for colorful mummy “wraps.”
I promised you versatile, and here’s proof!
How to Make Halloween Mummy Cookies – Step-by-Step

Step 1: Make the Dough
In a bowl, whisk together flour, baking powder, and salt. In a separate bowl, beat butter and sugar until fluffy (about 2–3 minutes). Add egg and vanilla and mix until combined. Gradually add the dry ingredients and mix until a dough forms.
Step 2: Chill and Roll
Wrap the dough in plastic wrap and refrigerate for at least 30 minutes. When ready, roll it out on a floured surface to about ¼-inch thickness. Cut into rectangles or ovals – mummy shapes!
Step 3: Bake the Cookies
Preheat the oven to 350°F (175°C). Place cookies on a parchment-lined baking sheet and bake for 8–10 minutes or until just barely golden on the edges. Let cool completely.
Step 4: Decorate Like a Mummy
Melt the white chocolate in the microwave in 30-second intervals, stirring until smooth. Transfer to a piping bag or use a spoon to drizzle it across the cookies in random lines to mimic mummy bandages.
Step 5: Add Candy Eyes
While the chocolate is still soft, press in the candy eyes. Let the chocolate set completely before serving or storing.
What to Serve With Mummy Cookies
A warm mug of apple cider or hot cocoa
Halloween-themed punch or drinks
A spread of other spooky treats like ghost cupcakes or spiderweb brownies
They also look super cute wrapped in cellophane as party favors!
Cookie-Making Tips for Success
Don’t skip chilling the dough – it keeps the cookies from spreading.
Use parchment paper to avoid over-browning the bottoms.
Let cookies cool completely before decorating – warm cookies will melt your chocolate drizzle.
If using a piping bag, snip just a small hole for thinner bandages.
How to Store Halloween Mummy Cookies
These cookies keep beautifully!
At room temp: Store in an airtight container for up to 5 days.
In the fridge: Keep for up to 10 days – bring to room temp before serving.
Freeze undecorated: You can freeze the baked cookies (undecorated) for up to 2 months. Just thaw and decorate before serving!
More Fun Facts About Mummy Cookies
You can use store-bought sugar cookie dough if you’re in a pinch – no judgment here!
Make mini mummies for bite-size fun – just reduce baking time slightly.
They’re a great make-ahead project for classroom parties or Halloween events.
Frequently Asked Questions
Can I make these cookies without a piping bag?
Absolutely! A spoon or even a zip-top bag with a corner snipped works just fine.
Can I use chocolate chip cookie dough instead?
Technically yes, but the mummy look works best with a smooth top surface. Sugar cookies are ideal for a clean canvas.
Are the candy eyes safe for kids?
Yes, they’re made of sugar and food coloring, though they’re a choking hazard for toddlers – so use your best judgment!
Can I add food coloring to the dough?
Definitely – orange or green dough with white chocolate drizzle looks super festive.
Do I need to refrigerate the cookies once decorated?
Only if your house is very warm. Otherwise, they’re fine at room temperature once the chocolate has set.
Wrapping It Up – Why You’ll Keep Coming Back to These Mummy Cookies
These Halloween Mummy Cookies are just too fun not to make. They’re easy, kid-approved, and endlessly customizable. Whether you’re baking with littles, preparing for a party, or just want a festive treat to brighten your day, these cookies hit the sweet spot.
I’m kicking myself for not having shot them earlier this season – but there’s still plenty of time to whip up a batch and share some spooky joy!
Want more Halloween goodness? Check out these other festive favorites:
Spooky Spiderweb Brownies
Pumpkin Patch Dirt Cups
Candy Corn Swirl Sugar Cookies
Let’s Bake Together!
If you make these, I would love to see your creations! Tag me @JulieMarieEats on Pinterest or leave a comment below – your version might just get featured in my newsletter 🎃
Nutrition (per cookie – approximate)
Calories: 150
Fat: 8g
Carbs: 18g
Sugar: 10g
Protein: 1g
Wishing you a fun, festive, and frightfully delicious Halloween!

