I swear, there’s just something magical about Christmas baking, isn’t there? The smells, the cozy vibes, and, of course, the delicious treats! And every year, one cookie reigns supreme in my kitchen: these Christmas Red Velvet Crinkle Cookies! They’re seriously the perfect mix of festive, easy to make, and utterly irresistible. They’re soft, chewy, and that powdered sugar coating? Pure perfection.
I’ve been baking holiday cookies since I was a little kid, helping my grandma in her kitchen. We always had a mountain of cookies ready for Santa. Red velvet has always been a favorite of mine, and when I stumbled across this crinkle cookie recipe years ago, it was love at first bite (and bake!). These cookies are like little bites of Christmas cheer, guaranteed to bring smiles to everyone’s faces. So, grab your apron, preheat that oven, and let’s get baking! You won’t regret it, trust me!

Why You’ll Love These Christmas Red Velvet Crinkle Cookies
Oh, let me tell you, these cookies are a total game-changer. Seriously, you’re going to be obsessed, just like I am! Here’s why these Christmas Red Velvet Crinkle Cookies are the BEST thing to bake this holiday season:
- Easy Peasy! No complicated techniques here, folks. These cookies are super simple to whip up, even if you’re a beginner baker. It’s so quick, you can make a batch in, like, an hour (including chilling time!). Perfect for when you need a last-minute treat.
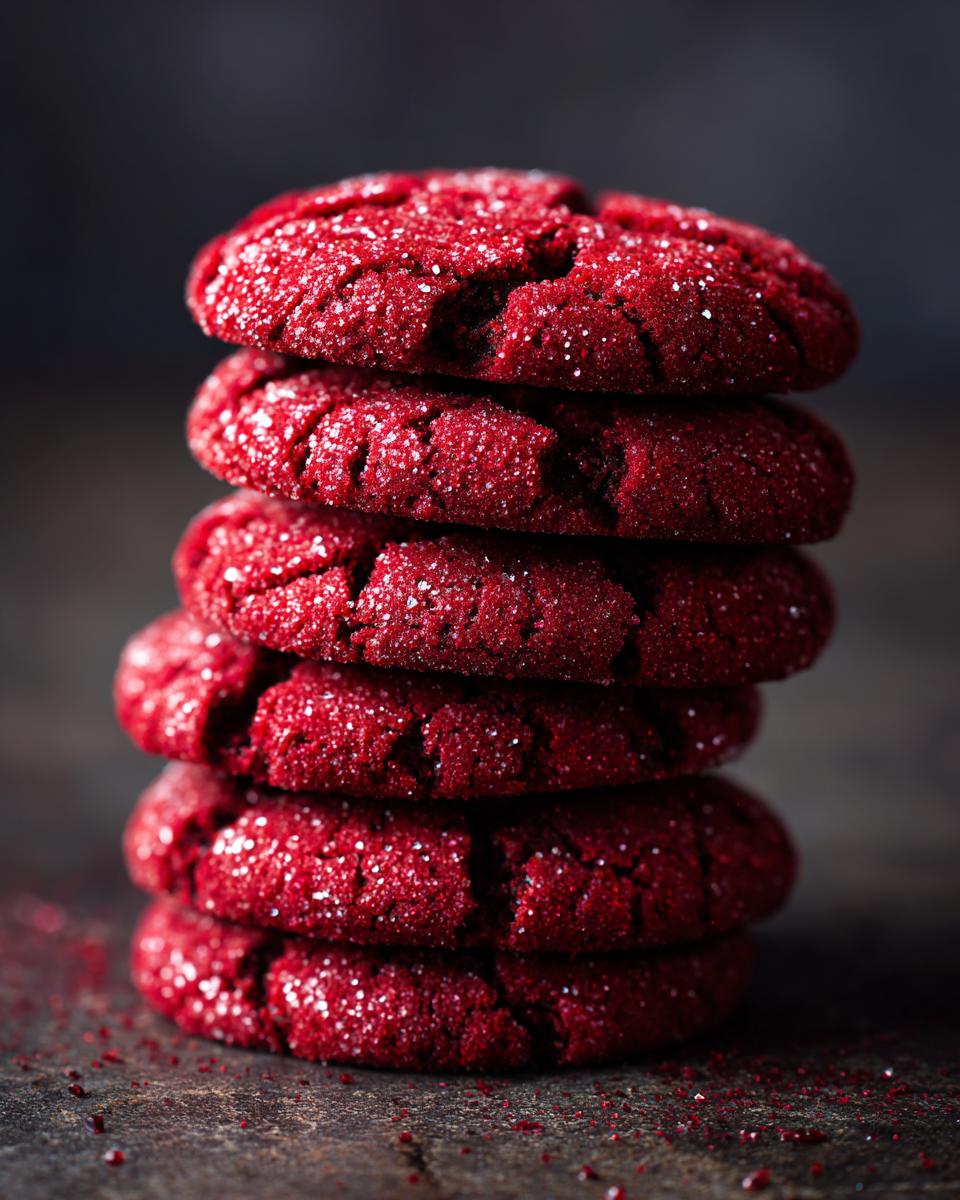
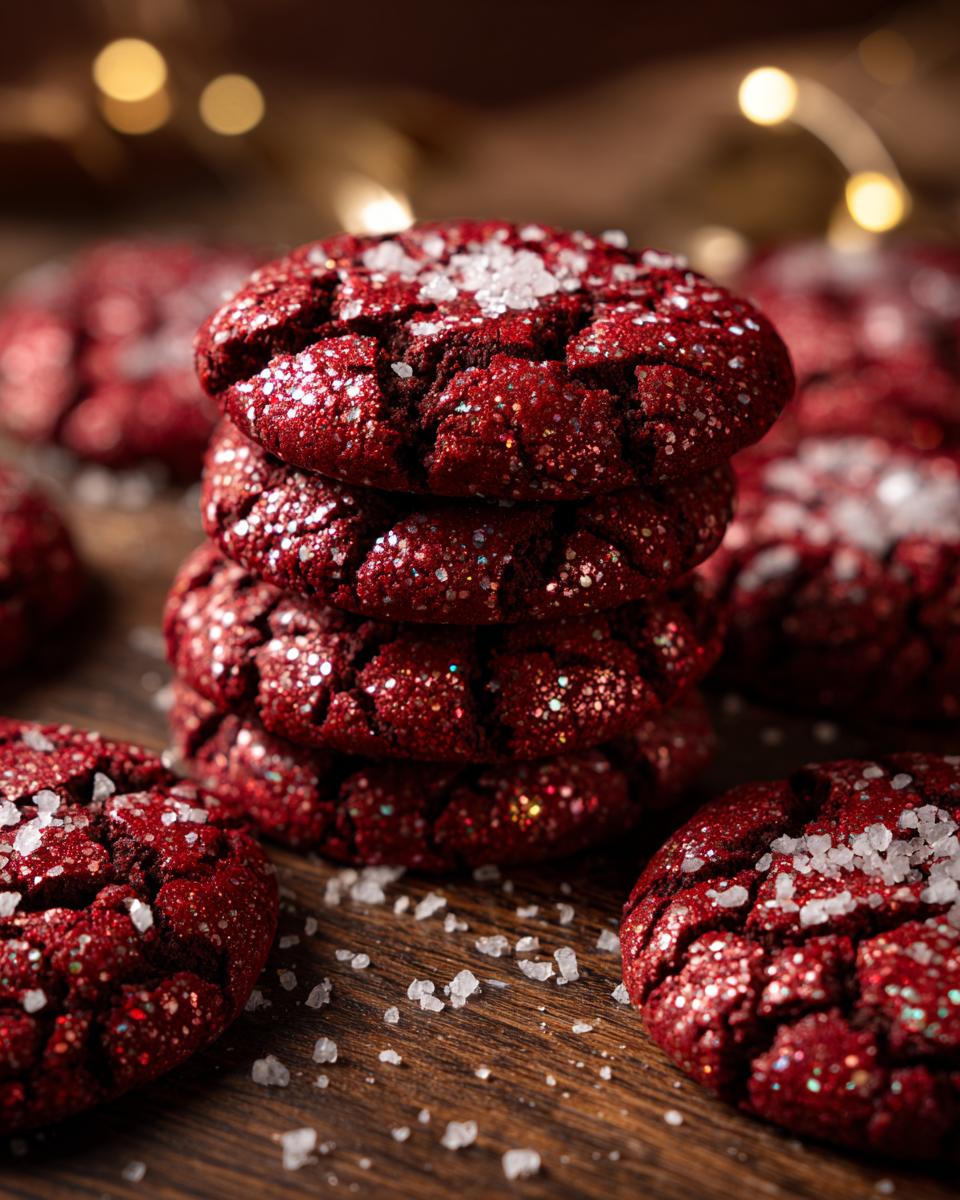
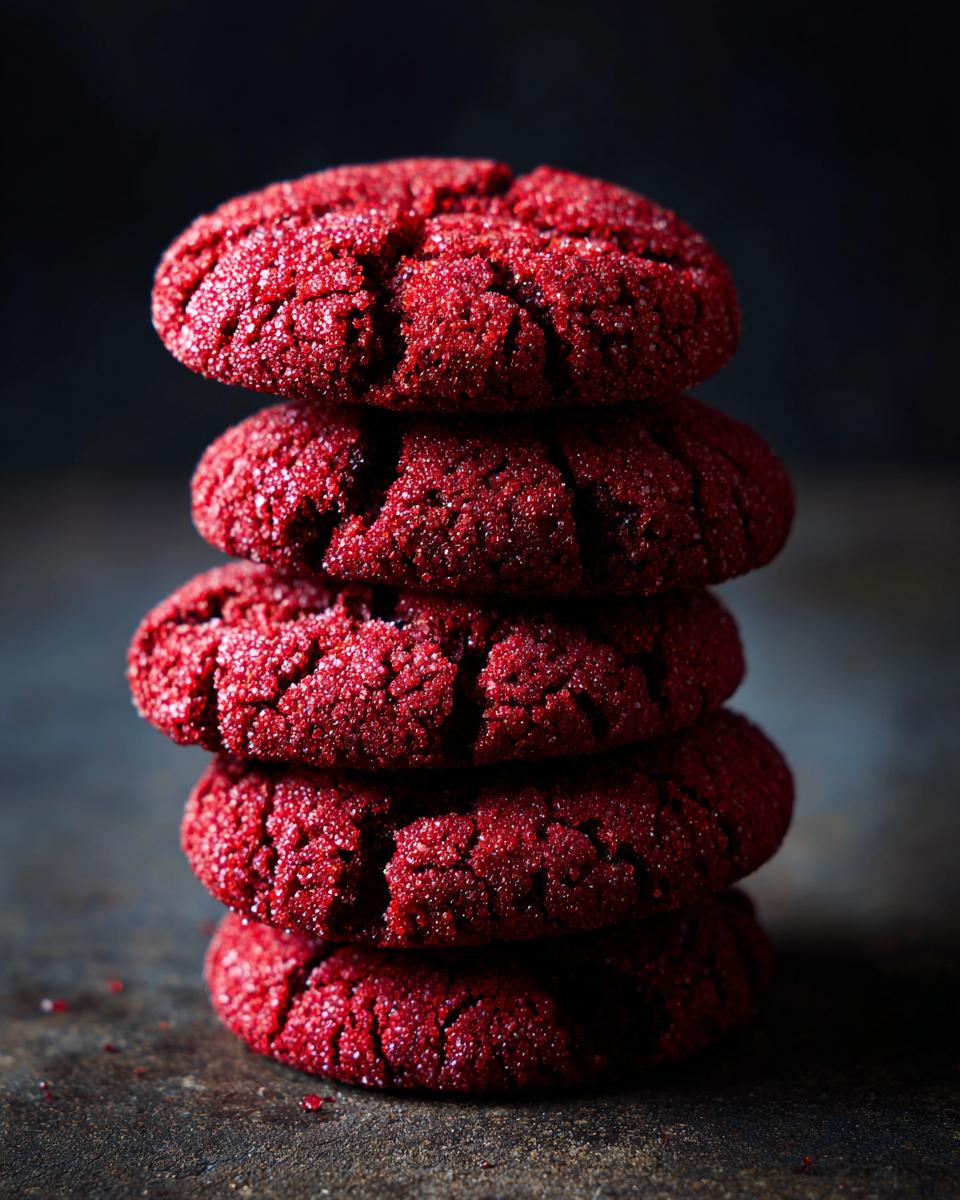
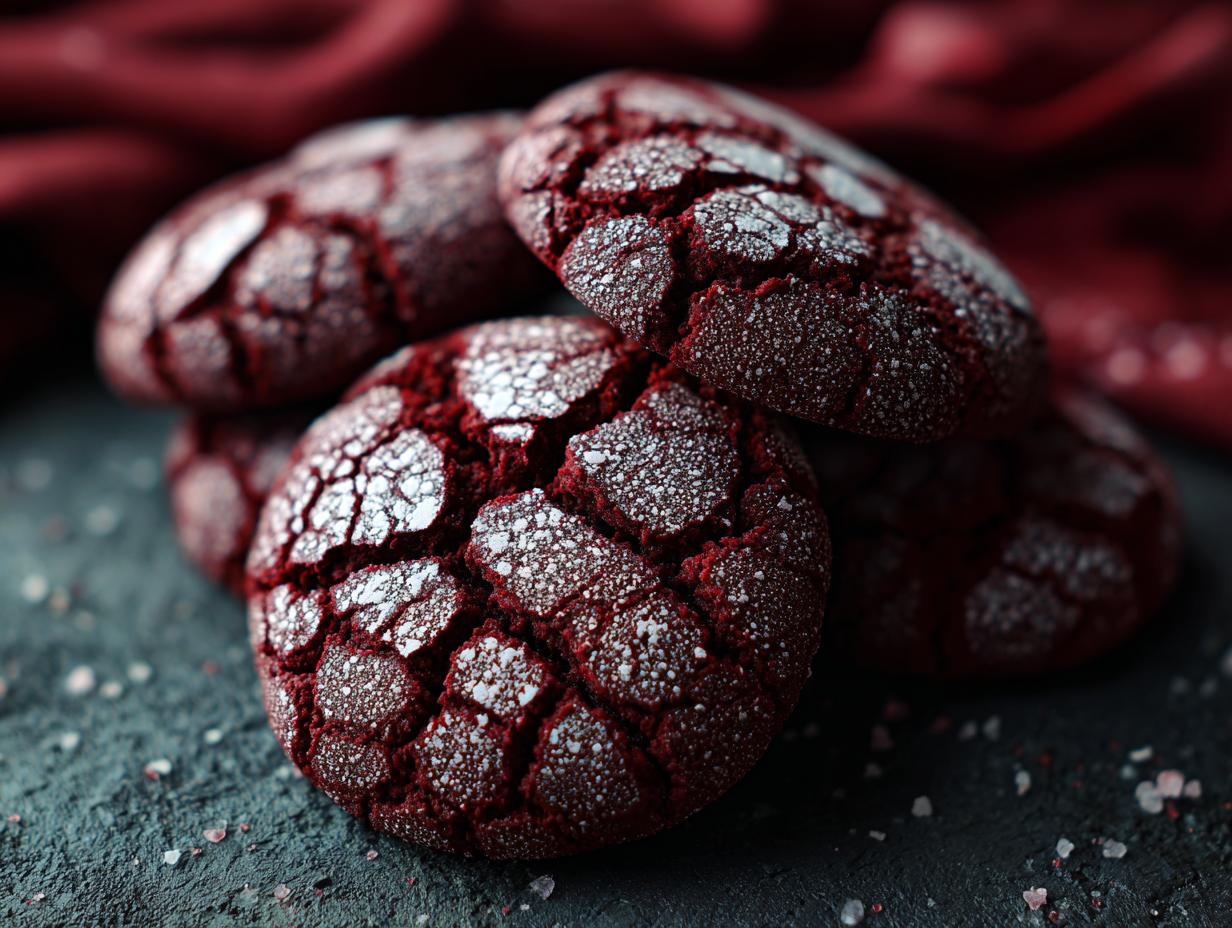
- That Perfect Crinkle! See that gorgeous, snowy, crinkly top? It’s not just pretty—it’s delightful! That powdered sugar transforms into a delicate, crackly crust that gives way to the softest, chewiest cookie inside. Pure bliss in every single bite.
- Festive & Fun! The vibrant red color against the white powdered sugar? Talk about a showstopper! These cookies are a total crowd-pleaser and spread Christmas cheer like nobody’s business. They look amazing on a cookie platter.
- So Darn Delicious! Seriously, the flavor is incredible. The hint of cocoa, the soft, velvety texture, the subtle tang from the buttermilk…it’s the perfect combination! They’re the cookie everyone will be reaching for (and begging you for the recipe, I guarantee it).

Ingredients for the Best Christmas Red Velvet Crinkle Cookies
Okay, so here’s what you’ll need to make these amazing Christmas Red Velvet Crinkle Cookies. Don’t worry, it’s a pretty standard list, and you probably already have a bunch of stuff in your pantry! Here’s the lowdown:
- 1 cup unsalted butter, softened
- 1 3/4 cups granulated sugar
- 2 large eggs
- 1 teaspoon vanilla extract
- 2 1/2 cups all-purpose flour
- 1/2 cup unsweetened cocoa powder
- 1 teaspoon baking soda
- 1/2 teaspoon salt
- 1 cup buttermilk
- 1 ounce red gel food coloring
- 1/2 cup powdered sugar, for coating
Easy, right? Let’s bake these cookies!
Equipment Needed to Make Christmas Red Velvet Crinkle Cookies
Alright, before we get to the fun part (aka, the eating!), you’ll need a few things from the kitchen. Don’t worry, it’s nothing too fancy, I promise! Here’s the line-up:
- Large bowl: For mixing all the deliciousness together.
- Electric mixer: Makes creaming the butter and sugar a breeze! A hand mixer works too.
- Baking sheets: Gotta have something to bake the cookies on, right?
- Parchment paper: Prevents sticking and makes clean-up so much easier!
- Measuring cups and spoons: Accurate measurements are key!
- Small bowl: For rolling those pretty dough balls in powdered sugar.
That’s it! Now we are ready!
Step-by-Step Instructions: How to Make Christmas Red Velvet Crinkle Cookies
Okay, friends, let’s get down to the good stuff! Making these Christmas Red Velvet Crinkle Cookies is super easy, but I’ve got a few tips and tricks to make sure they turn out absolutely perfect, just like mine.
Prepping the Oven and Baking Sheets
First things first, let’s get that oven ready! Preheat it to 350°F (175°C). Seriously, the exact temperature is important. While it’s heating up, grab your baking sheets and line them with parchment paper. Trust me, this is a lifesaver! It stops the cookies from sticking, and clean-up is a breeze. See, I told you this was easy!
Mixing the Wet Ingredients
In a large bowl, cream together that softened butter and granulated sugar until it gets nice and fluffy. A hand mixer or a stand mixer is your best friend here, but you can totally do it by hand if you’re feeling ambitious and have some serious arm strength. Beat in those eggs, one at a time, until everything’s well combined. Then, add in the vanilla extract and give it a good stir. Don’t be shy; all the flavors play nice together here.
Mixing the Dry Ingredients
In a separate bowl, whisk together the flour, cocoa powder, baking soda, and salt. Make sure everything’s evenly distributed; that way, all the cookies will be perfect. The cocoa powder is super important to give that red velvet flavor depth. Be sure to mix together well before adding to the wet ingredients.
Making the dough
Now, in a small bowl, combine the buttermilk and red food coloring. I like to add a tablespoon or two more of food coloring for that bright, Christmas-y red, but you do you! Then gradually add the dry ingredients to the wet ingredients, alternating with the buttermilk mixture, beginning and ending with the dry ingredients. Mix until just combined. Don’t overmix. You don’t want tough cookies! Once everything is mixed completely, Cover the bowl and chill the dough for at least 30 minutes. This helps the cookies keep their shape and get that lovely crinkle.
Rolling and Baking
Place the powdered sugar in a shallow dish for coating. Scoop out rounded tablespoons of dough (a cookie scoop is great for this!), roll them into balls, and then roll each ball in that powdered sugar until it’s completely coated. You want a good, thick coating! Place the coated cookie dough balls onto the prepared baking sheets, leaving a little space between each cookie so they don’t smoosh together (about 2 inches should do it). Bake for 9-11 minutes, or until the edges are set, and the centers are still soft. Take them out a bit early; they’ll continue to cook once they’re out of the oven! Let them cool on the baking sheets for a couple of minutes before transferring them to a wire rack to cool completely. And that’s it! Enjoy your amazing Christmas Red Velvet Crinkle Cookies!

Ingredient Notes and Substitutions for Christmas Red Velvet Crinkle Cookies
Okay, let’s chat about a few of these ingredients and what you can do if you’re in a pinch! First off, the butter! Gotta be softened, not melted, people! If you melt it, you won’t get that perfect cookie texture. Your cookies will spread out too much, so make sure it’s nice and soft, like a dream. About an hour on the counter will do the trick.
Now, buttermilk. Don’t worry if you don’t have it! You can totally make a simple substitute: just put a tablespoon of lemon juice or white vinegar into a cup of milk, let it sit for a few minutes, and boom! Buttermilk substitute. If you don’t use buttermilk, the cookies could taste different. As for the red food coloring, gel food coloring is my go-to since it’s super concentrated. But liquid food coloring works too; just make sure to add it until you get that perfect red hue. That is the fun part!
Tips for Success: Achieving Perfect Christmas Red Velvet Crinkle Cookies
Okay, you guys, listen up! Getting those perfect Christmas Red Velvet Crinkle Cookies is totally achievable. Here are my favorite pro tips to up your cookie game:
Chilling is Key
Don’t skip the chilling time! At least 30 minutes in the fridge is a must. This sets the butter, prevents spreading, and helps those crinkles form magically. If you don’t chill, the dough will be really sticky, and the cookies won’t hold their shape!
Roll ‘Em Right
When you’re rolling your dough, make sure your dough balls are all relatively the same size. A cookie scoop is super helpful for this! This helps them bake evenly. You can also press them down just a little bit with your palm before baking. This gives them a nice head start for the crinkling!
Watch the Oven
Baking time is everything! Keep a close eye on your cookies, and don’t overbake. The edges should be set, but the centers should still look soft. Remember, they’ll firm up a bit as they cool! Enjoy!
Make-Ahead and Storage Tips for Christmas Red Velvet Crinkle Cookies
Okay, so, life gets busy, especially during the holidays! But don’t you worry, you can totally make these Christmas Red Velvet Crinkle Cookies ahead of time, which is what I always do!
Make-Ahead Dough
You can make the dough a day or two in advance and keep it in the fridge, all wrapped up tight. Honestly, sometimes chilling the dough even longer helps the flavors develop even more! Just let the dough sit on the counter for a bit to soften a tiny bit if its hard to scoop. And you can freeze the dough for up to a month! Just make sure to wrap it tightly to prevent freezer burn.
Storage is Key
Once your Christmas Red Velvet Crinkle Cookies are baked, let them cool completely. Then, pop them into an airtight container. They’ll stay perfectly soft and chewy at room temperature for up to three days. If they last that long—which, let’s be honest, is a big if!—they may do well into a freezer for a month or two.
Variations on Christmas Red Velvet Crinkle Cookies
Okay, so, while these Christmas Red Velvet Crinkle Cookies are perfect as they are, I’m always messing around in the kitchen! Wanna jazz things up a bit? No problem, my friend! You can totally add some chocolate chips to the dough for an extra chocolatey twist! Or, try switching up the extract; almond or peppermint would be amazing for the holidays! My personal fave is a swirl of cream cheese frosting on top once they’ve cooled. Yum!

Estimated Nutritional Information for Christmas Red Velvet Crinkle Cookies
Alright, so here’s the deal, folks: the nutritional information below is just an estimate. It can vary depending on the exact ingredients you use, the brands, and even how much mixing you do. I’m no food scientist (I just love to eat!), so take these numbers with a grain of salt (a *tiny* grain, because we don’t want too much salt in our cookies!). But, hopefully, it’s a good guide!
Here’s the skinny on one of these delicious Christmas Red Velvet Crinkle Cookies:
- Serving Size: 1 cookie
- Calories: 180
- Sugar: 20g
- Sodium: 100mg
- Fat: 8g
- Saturated Fat: 5g
- Unsaturated Fat: 3g
- Trans Fat: 0g
- Carbohydrates: 26g
- Fiber: 1g
- Protein: 2g
- Cholesterol: 30mg
There you have it! Now go forth and enjoy these treats! Just remember, everything in moderation… unless it’s sprinkles, right?!
Print
Christmas Red Velvet Crinkle Cookies
- Total Time: 30 min
- Yield: 24 cookies 1x
- Diet: Vegetarian
Description
Soft and chewy red velvet cookies with a crinkled powdered sugar coating, perfect for Christmas.
Ingredients
- 1 cup unsalted butter, softened
- 1 3/4 cups granulated sugar
- 2 large eggs
- 1 teaspoon vanilla extract
- 2 1/2 cups all-purpose flour
- 1/2 cup unsweetened cocoa powder
- 1 teaspoon baking soda
- 1/2 teaspoon salt
- 1 cup buttermilk
- 1 ounce red gel food coloring
- 1/2 cup powdered sugar, for coating
Instructions
- Preheat your oven to 350°F (175°C). Line baking sheets with parchment paper.
- In a large bowl, cream together the softened butter and granulated sugar until light and fluffy.
- Beat in the eggs one at a time, then stir in the vanilla extract.
- In a separate bowl, whisk together the flour, cocoa powder, baking soda, and salt.
- In a small bowl, combine the buttermilk and red food coloring.
- Gradually add the dry ingredients to the wet ingredients, alternating with the buttermilk mixture, beginning and ending with the dry ingredients. Mix until just combined.
- Chill the dough for at least 30 minutes.
- Place the powdered sugar in a shallow dish. Roll rounded tablespoons of dough into balls, then roll each ball in the powdered sugar to coat completely.
- Place the coated cookie dough balls onto the prepared baking sheets, leaving some space between each cookie.
- Bake for 9-11 minutes, or until the edges are set and the centers are still slightly soft.
- Let the cookies cool on the baking sheets for a few minutes before transferring them to a wire rack to cool completely.
Notes
- For a deeper red color, you can add a bit more food coloring.
- Make sure your butter is softened, not melted, for the best texture.
- These cookies can be stored in an airtight container at room temperature for up to 3 days.
- Prep Time: 20 min
- Cook Time: 10 min
- Category: Dessert
- Method: Baking
- Cuisine: American
Nutrition
- Serving Size: 1 cookie
- Calories: 180
- Sugar: 20g
- Sodium: 100mg
- Fat: 8g
- Saturated Fat: 5g
- Unsaturated Fat: 3g
- Trans Fat: 0g
- Carbohydrates: 26g
- Fiber: 1g
- Protein: 2g
- Cholesterol: 30mg
Keywords: red velvet, crinkle cookies, christmas cookies, holiday baking, easy cookies, dessert

