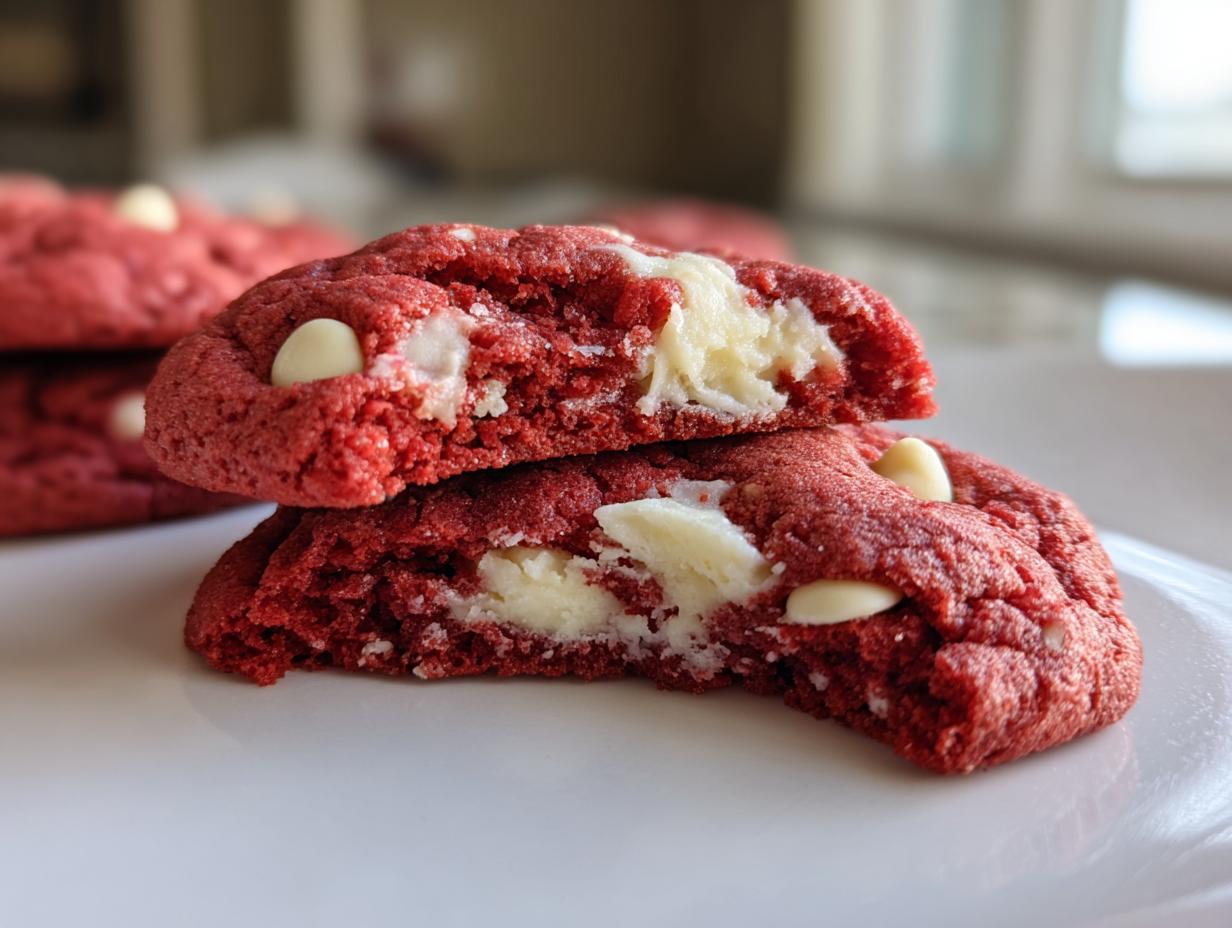
Oh, you know those moments when you’re just craving something *special*? Something that tastes like it came straight from a fancy bakery, with that perfect chewy center and those amazing flavors? Well, me too! And for the longest time, I dreamed of recreating those iconic Levain Bakery-style cookies, but with that gorgeous red velvet twist. So, imagine my excitement when I finally cracked the code for these amazing Levain Bakery-Style Red Velvet Cookies, complete with swirls of dreamy cream cheese frosting. Seriously, it’s like a little slice of heaven, and I can’t wait for you to try them!
Why You’ll Love These Levain Bakery-Style Red Velvet Cookies
Seriously, why wouldn’t you love these? They hit all the right notes:
- That Perfect Texture: We’re talking chewy centers, slightly crisp edges, just like the real deal. No dry hockey pucks here!
- Dreamy Flavor Combo: The rich, slightly chocolatey red velvet is just begging for that tangy, sweet cream cheese frosting. It’s classic for a reason!
- Bakery Magic at Home: Get that coveted Levain Bakery vibe without leaving your kitchen. Your friends will think you’re a baking pro.
- Super Doable: Honestly, they’re not as fussy as they look. With a little chilling time, you’ll be pulling these beauties out of the oven like a champ.
Gather Your Ingredients for Levain Bakery-Style Red Velvet Cookies
Okay, let’s get baking! The secret to these amazing Levain Bakery-Style Red Velvet Cookies really comes down to good ingredients, so grab these goodies. Trust me, using good quality stuff makes a difference, it really does! You’ll want to have your butter and cream cheese softened up perfectly – that’s a biggie for getting that beautiful fluffy texture we’re after. Oh, and for that vibrant red color, a good gel food coloring works wonders; it’s more concentrated!
Here’s your shopping list:
- For the Cookies:
- 1 cup (2 sticks) unsalted butter, softened – gotta be soft!
- 1 1/2 cups granulated sugar
- 1 cup packed light brown sugar – this gives us that lovely chewiness!
- 2 large eggs, at room temperature is best
- 1 teaspoon vanilla extract
- 1/4 cup unsweetened cocoa powder – not the sweetened kind!
- 1 teaspoon red food coloring – gel works best for a bold color
- 2 1/2 cups all-purpose flour
- 1 teaspoon baking soda
- 1/2 teaspoon salt
- 1 cup white chocolate chips – they’re just perfect with red velvet!
- For the Cream Cheese Frosting:
- 8 ounces cream cheese, softened (super important for smooth frosting!)
- 1/2 cup (1 stick) unsalted butter, also softened
- 1 teaspoon vanilla extract
- 3 cups powdered sugar – sifted if you want it extra smooth, but not totally necessary!
Essential Equipment for Baking Perfect Red Velvet Cookies
Alright, let’s talk tools! Having the right gear really makes baking these cookies a breeze. You’ll need a couple of good mixing bowls, one for your wet stuff and one for your dry. An electric mixer, whether it’s a stand mixer or a hand mixer, is your best friend for getting that butter and sugar perfectly fluffy. A sturdy spatula is handy for scraping down the sides – don’t miss a speck of that delicious dough! Of course, you’ll need your trusty measuring cups and spoons. And for baking, good quality baking sheets are a must, along with parchment paper to keep things from sticking. Finally, a wire cooling rack is key for letting those beauties cool properly so they don’t get soggy. These simple tools are your ticket to bakery-style perfection!
Step-by-Step Guide to Making Levain Bakery-Style Red Velvet Cookies
Alright, let’s get down to business and make some magic happen! This is where we turn those simple ingredients into something spectacular. Don’t worry, it’s totally doable, and I’ll walk you through every step. And listen, that chilling time? It’s KEY for that signature thick texture, so don’t skip it! If you’re curious about cookie techniques in general, check out some great cookie recipes; they often share similar principles.
Preparing the Red Velvet Cookie Dough
First things first, grab your biggest mixing bowl. We’re going to cream together that softened butter and all that gorgeous sugar – both the granulated and the light brown. Beat it until it’s nice and fluffy, like pale yellow clouds. Then, crack in your eggs one at a time, beating well after each. Stir in the vanilla extract and that vibrant red food coloring. It’s like watching the color bloom! Now, in a separate bowl, give your cocoa powder, flour, baking soda, and salt a quick whisk. Gently add these dry ingredients to the wet mixture, just until *barely* combined. Seriously, don’t overmix here! Fold in those beautiful white chocolate chips, and voilà, dough!
Chilling and Shaping Your Red Velvet Cookie Dough
This is our secret weapon for that amazing Levain texture, that thick, gorgeous cookie that doesn’t spread too much. Cover that bowl tightly with plastic wrap and pop it into the fridge for at least an hour, or even longer if you have the patience! It needs that chill to firm up. Once it’s nice and cold, preheat your oven to 350°F (175°C). Line your baking sheets with parchment paper – it makes clean-up a breeze. Now, for shaping, I like to use a nice big ice cream scoop, the kind that holds about 1/4 cup. Roll the dough into big, generous balls and place them on the baking sheet, giving them plenty of room to spread a little, about 2 inches apart. You want them to look substantial!
Baking the Perfect Levain Bakery-Style Cookies
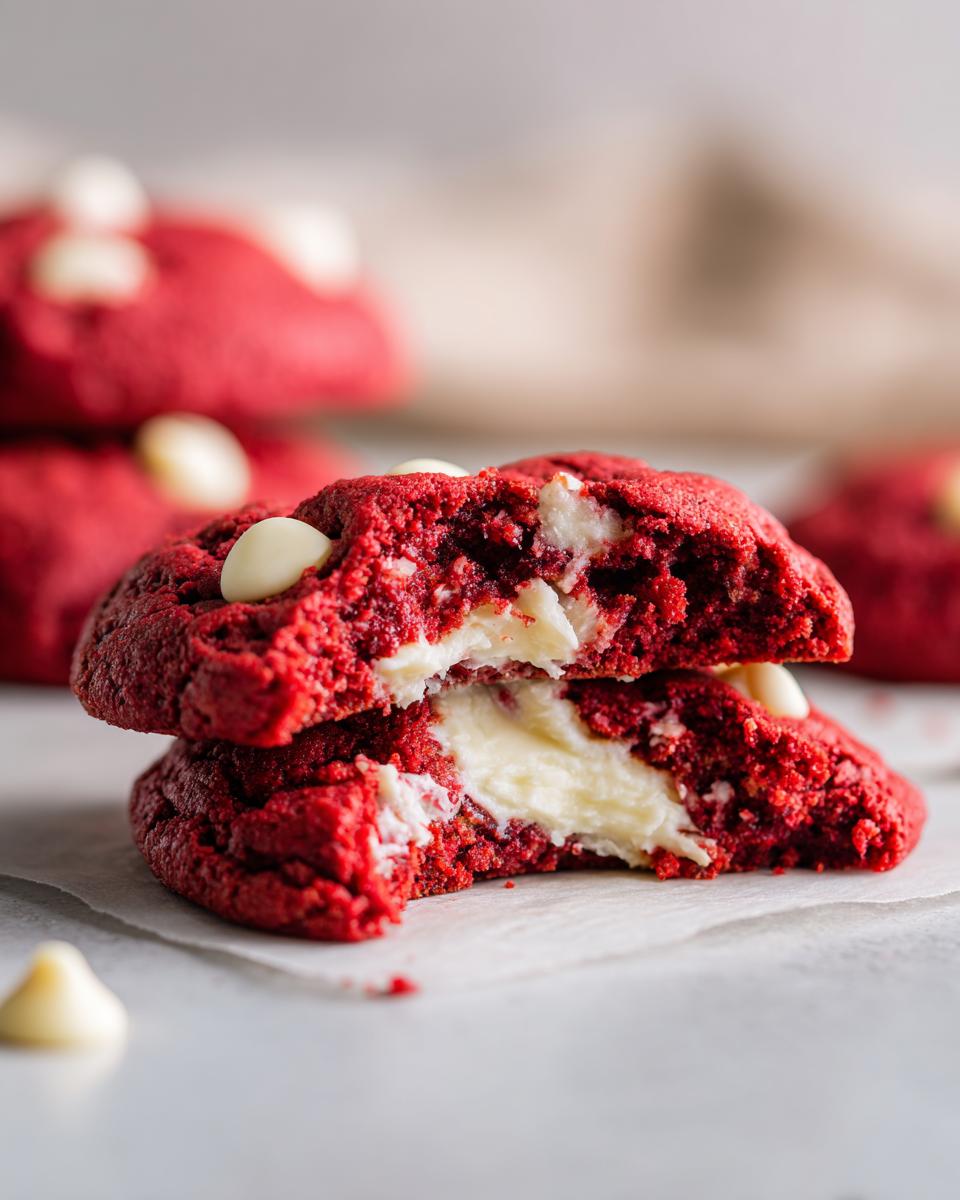
Pop those beauties into the preheated oven. We’re looking at about 10 to 12 minutes. You want the edges to be set and look cooked, but the centers should still look a little soft and gooey. They’ll continue to bake a bit on the hot pan, so pulling them out when the middle still has a slight wobble is perfect. Don’t try to move them right away! Let them hang out on the baking sheet for a good 5 minutes. This is crucial for preventing them from falling apart. Then, gently transfer them to a wire rack to cool completely. Patience, my friends!
Crafting the Cream Cheese Frosting
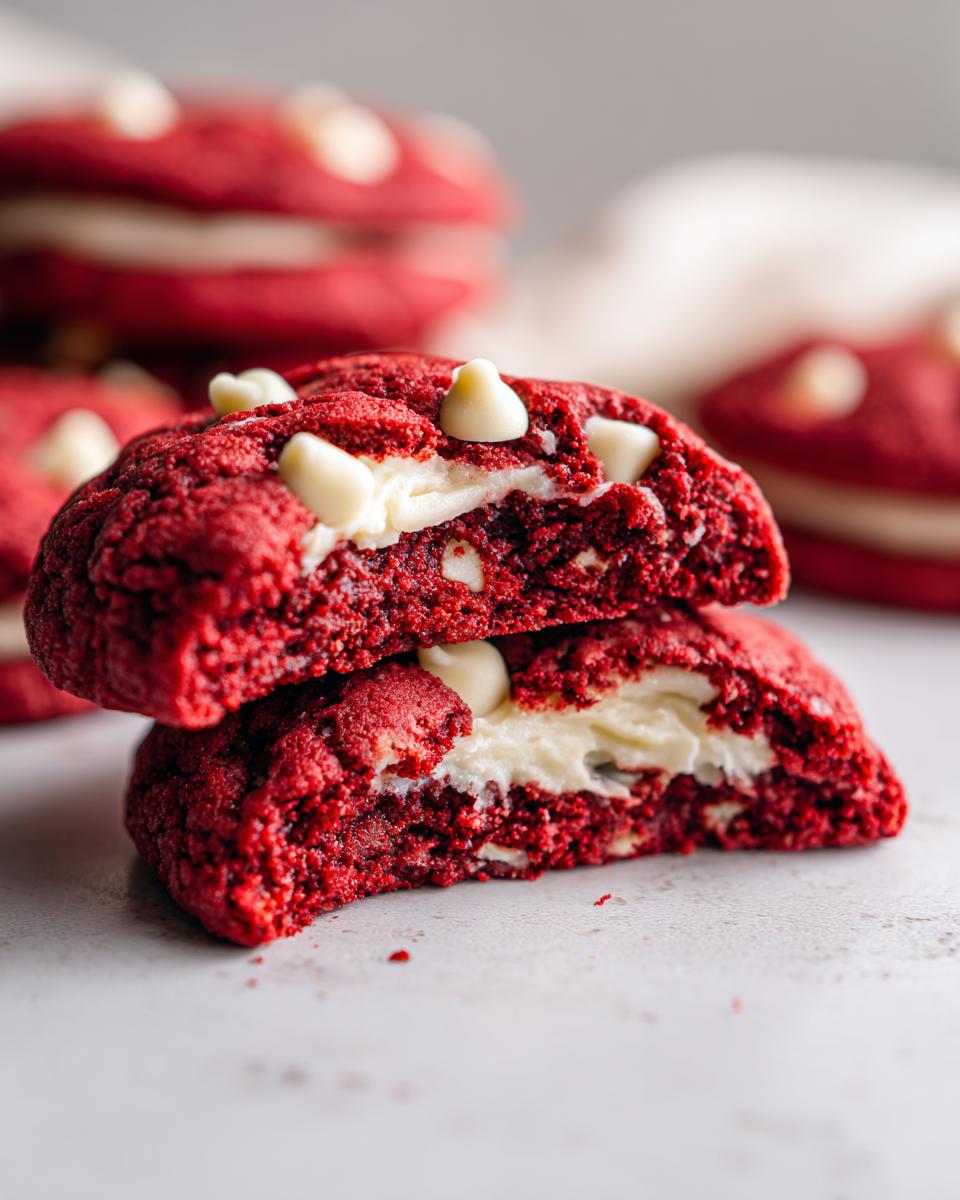
While those cookies are cooling, let’s whip up that dreamy frosting. Make sure your cream cheese and butter are nice and soft – this is so important for a super smooth frosting. Beat them together in a bowl until they’re perfectly creamy and there are no lumps. Stir in the vanilla extract. Now, add your powdered sugar a cup at a time, mixing until everything is smooth and luscious. If it seems a little too thick, you can add a tiny splash of milk, but start with just the sugar. You want it spreadable but not runny.
Assembling Your Red Velvet Cookies
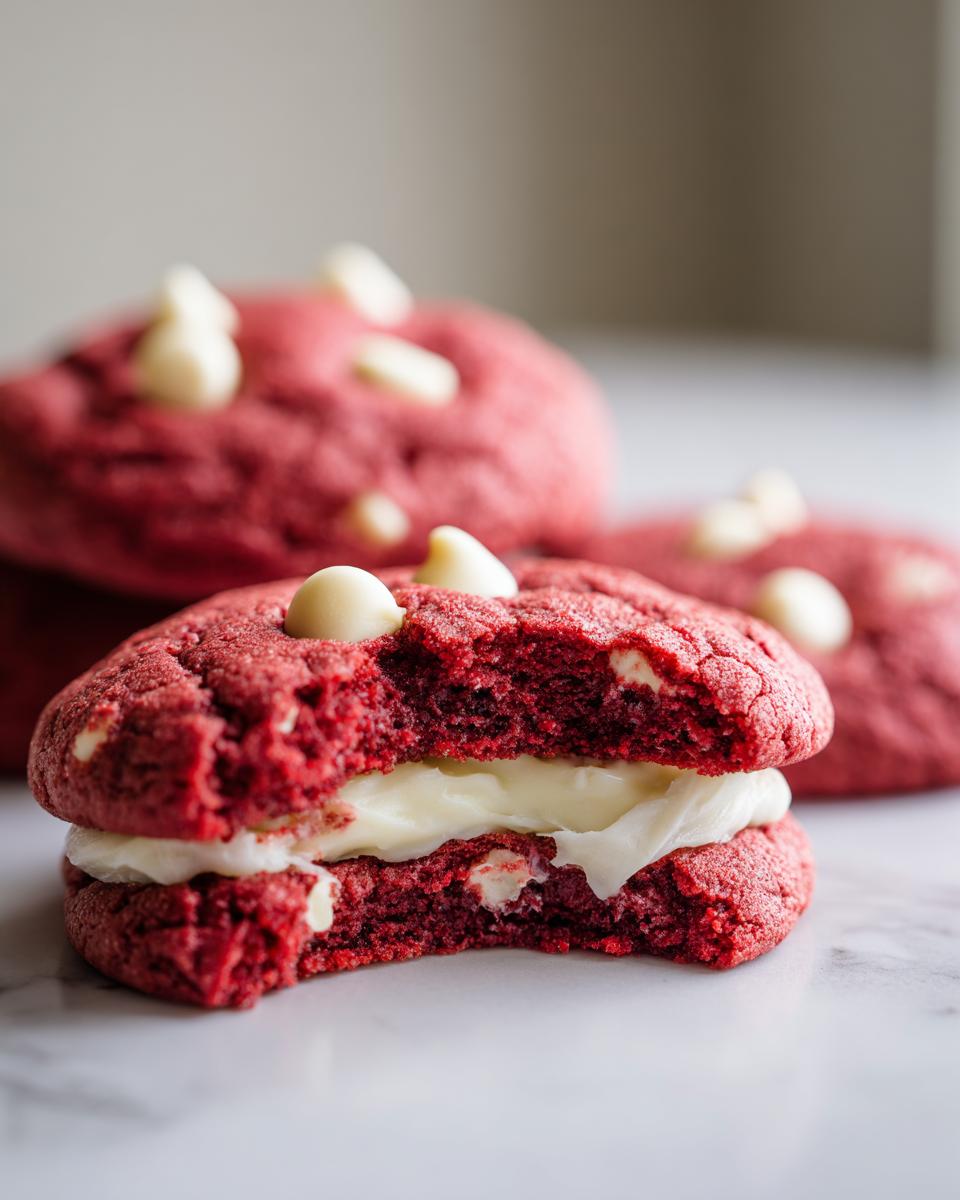
Once your cookies are completely cool (and I mean totally, totally cool – warm cookies and frosting are a messy disaster!), it’s time for the grand finale. You can either spread the frosting generously onto the tops of your cookies with a spatula or pipe it on for a fancier look. Honestly, I usually just grab a spoonful and slap it on. It’s all about that delicious flavor combo!

Tips for Success with Your {primary_keyword}
You know, baking is a little bit of science and a whole lot of love, and these cookies are no exception! I’ve learned a few tricks along the way that really make a difference between a “good” cookie and a “wow, where did you get this?!” cookie. So, let me share some of my hard-earned wisdom to help your Levain Bakery-Style Red Velvet Cookies turn out absolutely perfect every single time!
Ingredient Temperature Matters for Levain Bakery-Style Red Velvet Cookies
This is SO important, seriously. Make sure your butter and cream cheese are *fully* softened. Like, you can easily press your finger into them. If they’re too cold, you won’t get that lovely fluffy texture when you cream them with the sugar, and that’s the start of everything!
Don’t Overmix the Dough
Once you add those dry ingredients to the wet, go easy! Just mix until you don’t see any more dry flour streaks. Overmixing develops the gluten too much, and that’s what can turn your beautiful, chewy cookies into something tough.
The Magic of Chilling
Oh, this step! It’s not just for show, I promise. Chilling the dough firms everything up, which means your cookies won’t spread out into sad, flat puddles in the oven. Plus, it gives all those yummy flavors time to really meld together. Trust me on this one – it’s worth the wait!
Ingredient Notes and Substitutions for Red Velvet Cookies
Alright, let’s chat about a few things in this recipe that might need a little explanation or a quick swap. You know how much I love flexibility in the kitchen! For that beautiful red hue, I really prefer using a gel food coloring. It’s super concentrated, so you get that amazing vibrant color without adding too much extra liquid, which can mess with your cookie texture. A teaspoon usually does the trick, but if you’re feeling bold, you can always add another teaspoon for an even more intense red – totally your call!
And those white chocolate chips? They’re lovely! But if you can’t find them or just don’t have them on hand, don’t fret. Delicious semi-sweet chocolate chips are a fantastic substitute. They’ll give you a slightly different flavor profile, but still totally delicious. Also, for the cocoa powder, stick to unsweetened; it’s crucial for that classic red velvet taste!
Storing and Reheating Your Levain Bakery-Style Red Velvet Cookies
Once your beautiful frosted cookies are ready, storing them is key to keeping that frosting from turning into a sticky mess. The best way is to pop them into an airtight container. If you’re stacking them, I like to put a layer of parchment paper between each cookie to prevent that beautiful frosting from getting smooshed. You can totally keep them on the counter if you plan to eat them within a day or two, but if you need them to last longer, the fridge is your friend! Just remember to let them come back to room temperature for a bit before you dive in; they taste so much better that way, especially the frosting!
Frequently Asked Questions About Red Velvet Cookies
Can I make the dough ahead of time?
Absolutely! This Levain Bakery-Style Red Velvet Cookie dough is fantastic for making ahead. Just cover it tightly with plastic wrap and pop it in the fridge for up to 3 days. It actually gets even better with a longer chill, as the flavors really deepen!
Why are my cookies spreading too much?
There are a couple of reasons this might happen! First, make sure your butter and sugars are properly creamed, but not *over*-creamed. Also, chilling the dough is super important – it solidifies the fat, preventing too much spread. Make sure your oven temperature is accurate, too!
What’s the best way to get the red color?
For that gorgeous, vibrant red, I really recommend using a gel food coloring. You usually only need about a teaspoon for a bold color, and it won’t add extra liquid to your dough, which can affect the texture. A liquid food coloring will work, but you might need more, and it could make the dough a bit too wet.
Can I use different chocolate chips?
Definitely! While white chocolate chips are lovely with red velvet, semi-sweet or even dark chocolate chips work wonderfully too. Feel free to swap them out based on your preference. You could even mix them up!
Nutritional Information for Levain Bakery-Style Red Velvet Cookies
Just a heads-up, these numbers are estimates per cookie, since everyone’s ingredients and portion sizes can vary a bit. This is based on the recipe details provided, so expect it to be pretty close! What’s listed below are approximate values to give you a general idea of what you’re working with in these delicious Levain Bakery-Style Red Velvet Cookies.
Serving Size: 1 cookie
- Calories: 350
- Sugar: 35g
- Sodium: 150mg
- Fat: 20g
- Protein: 3g
- Carbohydrates: 40g
Share Your Red Velvet Cookie Creations!
Alright, now that you’ve baked up these amazing Levain Bakery-Style Red Velvet Cookies, I’d LOVE to hear all about it! Did they turn out perfectly chewy? Did your frosting swirl just right? Drop a comment below, tell me what you think, or even rate the recipe! And seriously, if you snap some pics, tag me on Instagram – I live to see your baking triumphs!
Print
Levain Bakery-Style Red Velvet Cookies
- Total Time: 1 hour 32 min
- Yield: 24 cookies 1x
- Diet: Vegetarian
Description
Chewy red velvet cookies with a cream cheese frosting.
Ingredients
- 1 cup (2 sticks) unsalted butter, softened
- 1 1/2 cups granulated sugar
- 1 cup packed light brown sugar
- 2 large eggs
- 1 teaspoon vanilla extract
- 1/4 cup unsweetened cocoa powder
- 1 teaspoon red food coloring
- 2 1/2 cups all-purpose flour
- 1 teaspoon baking soda
- 1/2 teaspoon salt
- 1 cup white chocolate chips
- For the Frosting:
- 8 ounces cream cheese, softened
- 1/2 cup (1 stick) unsalted butter, softened
- 1 teaspoon vanilla extract
- 3 cups powdered sugar
Instructions
- Cream together the softened butter and sugars until light and fluffy.
- Beat in the eggs one at a time, then stir in the vanilla extract and red food coloring.
- In a separate bowl, whisk together the cocoa powder, flour, baking soda, and salt.
- Gradually add the dry ingredients to the wet ingredients, mixing until just combined.
- Stir in the white chocolate chips.
- Cover the dough and chill for at least 1 hour.
- Preheat your oven to 350°F (175°C). Line baking sheets with parchment paper.
- Scoop rounded balls of dough onto the prepared baking sheets, leaving about 2 inches between cookies.
- Bake for 10-12 minutes, or until the edges are set and the centers are still slightly soft.
- Let the cookies cool on the baking sheets for a few minutes before transferring them to a wire rack to cool completely.
- For the frosting: Beat together the softened cream cheese and butter until smooth.
- Stir in the vanilla extract.
- Gradually add the powdered sugar, mixing until well combined and smooth.
- Spread or pipe the frosting onto the cooled cookies.
Notes
- For a more intense red color, you can add an extra teaspoon of red food coloring.
- If you don’t have white chocolate chips, you can substitute them with semi-sweet chocolate chips.
- The dough can be made ahead of time and stored in the refrigerator for up to 3 days.
- Prep Time: 20 min
- Cook Time: 12 min
- Category: Dessert
- Method: Baking
- Cuisine: American
Nutrition
- Serving Size: 1 cookie
- Calories: 350
- Sugar: 35g
- Sodium: 150mg
- Fat: 20g
- Saturated Fat: 12g
- Unsaturated Fat: 8g
- Trans Fat: 0g
- Carbohydrates: 40g
- Fiber: 1g
- Protein: 3g
- Cholesterol: 60mg
Keywords: red velvet cookies, bakery style cookies, white chocolate cookies, cream cheese frosting, chewy cookies, Levain bakery

