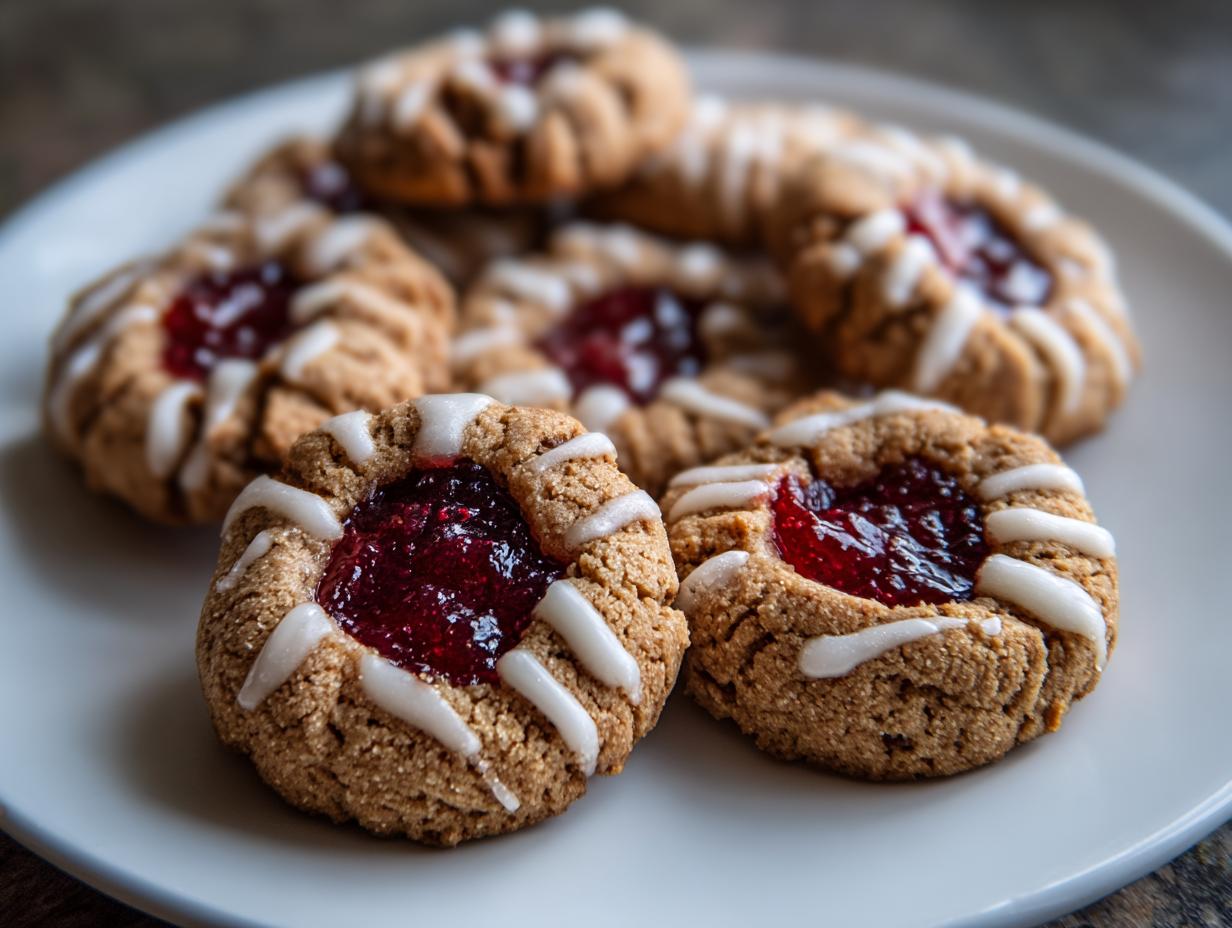
Oh, the magic of a warm kitchen, the sweet scent of baking, and that first bite of a perfect homemade cookie! There’s just something so special about them, especially when the holidays roll around or you just need a little pick-me-up. And let me tell you, these Raspberry Thumbprint Cookies with Icing are an absolute classic for a reason. They’re that perfect mix of simple charm and elegant deliciousness that makes everyone feel like a baking pro. I remember my mom making these every Christmas, and the way the sweet, slightly tart raspberry jam peeked out from the tender cookie… pure bliss! They’re just so easy to whip up, yet they look so fancy. Trust me, they’ll be your new go-to for any occasion!
Why You’ll Love These Raspberry Thumbprint Cookies with Icing
Seriously, these cookies come together in a flash. Even if you’re new to baking, you’ll nail these!
The tender, buttery cookie is the perfect base for that sweet and slightly tart raspberry jam, all topped off with a sweet icing drizzle. Yum!
The bright jam peeking out and the pretty icing drizzle make these look like they came from a fancy bakery, but you made them!
While raspberry is amazing, you can totally swap in your favorite jam. They’re perfect for holidays, parties, or just because!
Everyone loves a good thumbprint cookie, and these are guaranteed to disappear fast!
Gather Your Ingredients for Raspberry Thumbprint Cookies with Icing
Alright, let’s get our little baking station ready! To whip up these delightful Raspberry Thumbprint Cookies with Icing, you won’t need anything super fancy. Just good old pantry staples and a jar of your favorite jam. Here’s what we’re grabbing:
For the Cookies:
- 1 cup unsalted butter, make sure it’s softened! This is key for creaming.
- 1/2 cup granulated sugar.
- 1 teaspoon pure vanilla extract.
- Just a touch of salt, about 1/4 teaspoon, to balance it all out.
- 2 cups all-purpose flour.
- And, of course, about 1/2 cup of your favorite raspberry jam.
For the Simple Icing:
- 1 cup powdered sugar (also called confectioners’ sugar or icing sugar).
- 2 tablespoons milk – just enough to get that perfect drizzle consistency.
See? Nothing too out there! Having these ready to go means you can get straight to the fun part – mixing!
Essential Equipment for Making Raspberry Thumbprint Cookies
Okay, before we dive in, let’s make sure you’ve got everything handy. You really don’t need a professional kitchen for these Raspberry Thumbprint Cookies, just a few basics:
- An electric mixer (either a stand mixer or a hand mixer) makes creaming the butter and sugar a breeze, but you can totally do it by hand with a good sturdy spoon or whisk if you’re feeling energetic!
- A couple of baking sheets.
- A wire cooling rack is super helpful so your cookies don’t get soggy bottoms.
- Some measuring cups and spoons, of course!
- A small bowl for your icing.
That’s pretty much it! Having these ready means you can just grab your ingredients and start baking. So much fun!
Step-by-Step Guide to Perfect Raspberry Thumbprint Cookies with Icing
Alright, let’s get baking! This is where the magic really happens. Don’t worry, these steps are super straightforward, and before you know it, you’ll have a whole batch of gorgeous Raspberry Thumbprint Cookies with Icing.
Preparing the Cookie Dough
First things first, let’s make our cookie dough. Grab your mixer (or a good sturdy spoon!) and cream together that softened butter and the granulated sugar until it’s nice and fluffy – think pale yellow and airy. Then, beat in the vanilla extract and that pinch of salt. Now, slowly add in your flour, mixing it all up until it just comes together. Don’t overmix it, or your cookies could get tough. Pop the dough into the fridge for about 30 minutes to chill. This makes it way easier to handle and helps prevent them from spreading too much, which you can read more about here!
Shaping and Filling the Cookies
Once the dough has had its little chill, preheat your oven to 350°F (175°C). Grab your baking sheets and line them if you like (makes cleanup a breeze!). Now, roll the chilled dough into little balls, about 1-inch in size. Place them on your baking sheet, leaving a little space between each one. Here comes the fun part: use your thumb (or the back of a teaspoon) to gently press into the center of each cookie, creating a little well. Make sure it’s deep enough to hold a lovely dollop of that raspberry jam!
Baking Your Raspberry Thumbprint Cookies
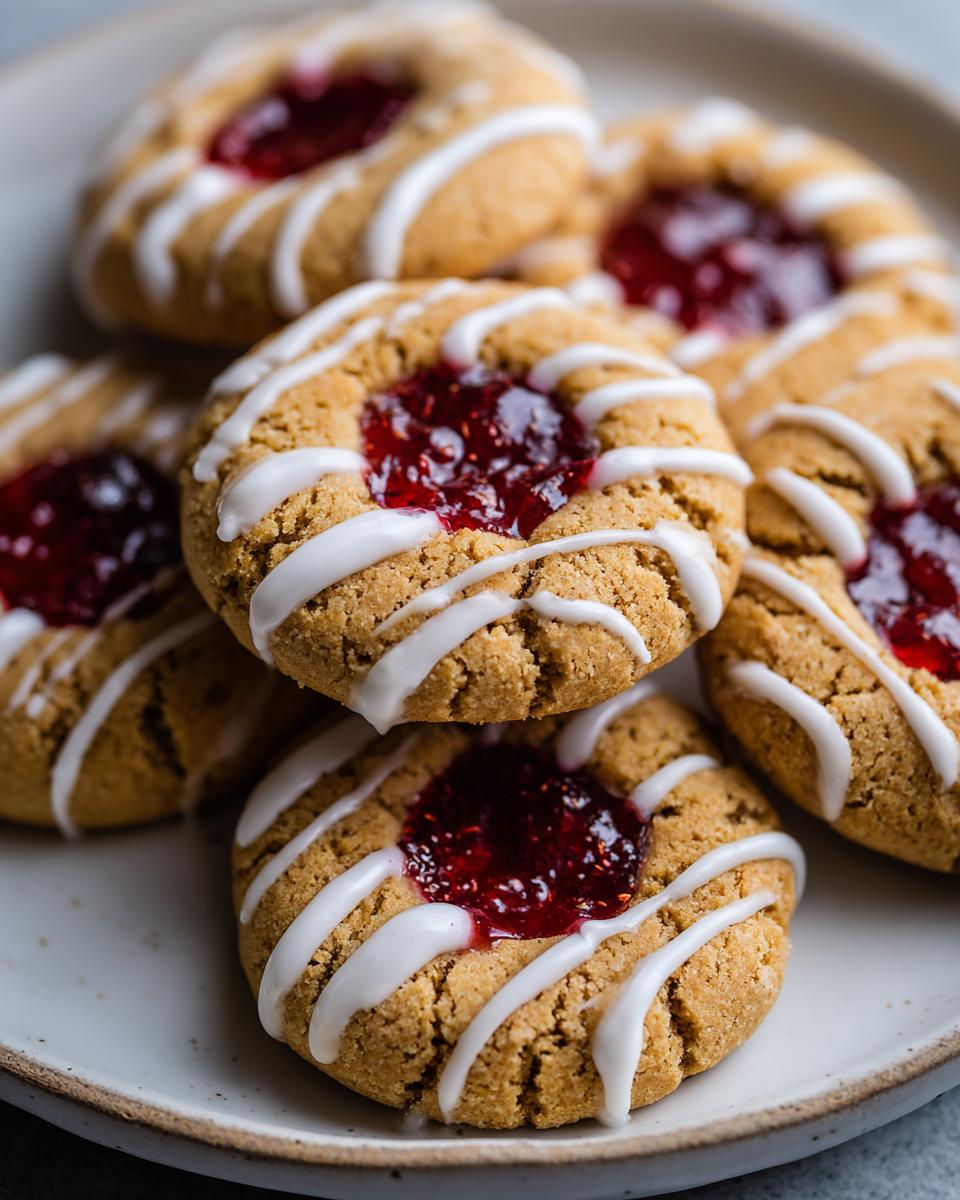
Time for the oven! Spoon about half a teaspoon of raspberry jam into each little indentation. Don’t overfill, or it’ll ooze out everywhere! Bake these beauties for about 12 to 15 minutes. You’re looking for the edges to be just lightly golden brown. They might still look a bit soft in the center, but that’s okay! Let them cool on the baking sheet for a few minutes – this is super important because they’re fragile when hot. Then, gently transfer them to a wire rack to cool completely. Trying to move them too soon can lead to sad, broken cookies!
Making and Applying the Simple Icing
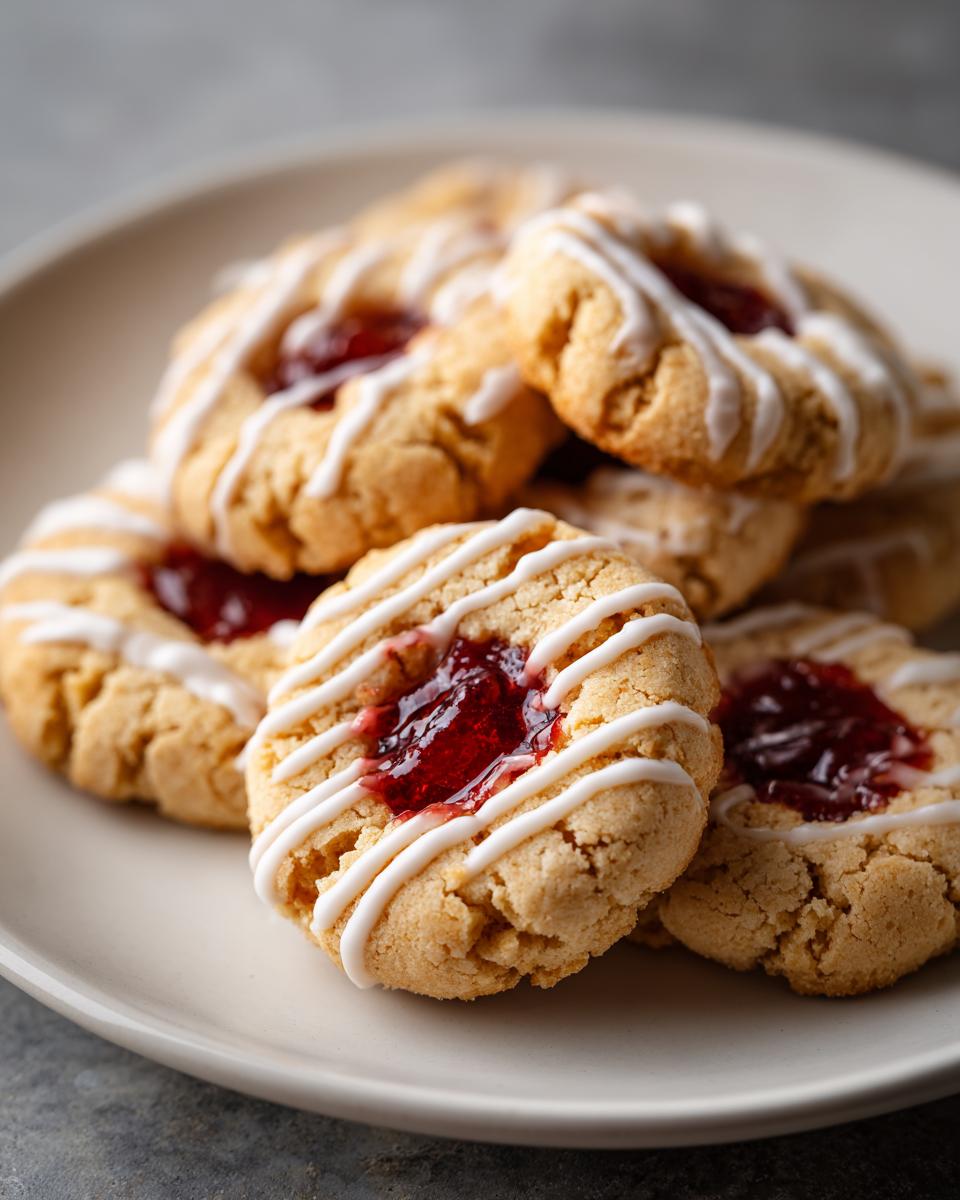
While those gorgeous cookies are cooling off, let’s whip up a quick and easy icing. In a small bowl, whisk together the powdered sugar and the milk. Start with the 2 tablespoons of milk and add a tiny bit more if you need to, until you get a nice, smooth consistency that’s thick enough to drizzle but not too runny. Once the cookies are totally cool – and I mean *totally*, otherwise the icing will melt right off – just take a spoon and drizzle that sweet icing over the top of each cookie. You can make little zigzags or just a simple line. They’ll look so cute!
Tips for Baking Perfect Raspberry Thumbprint Cookies
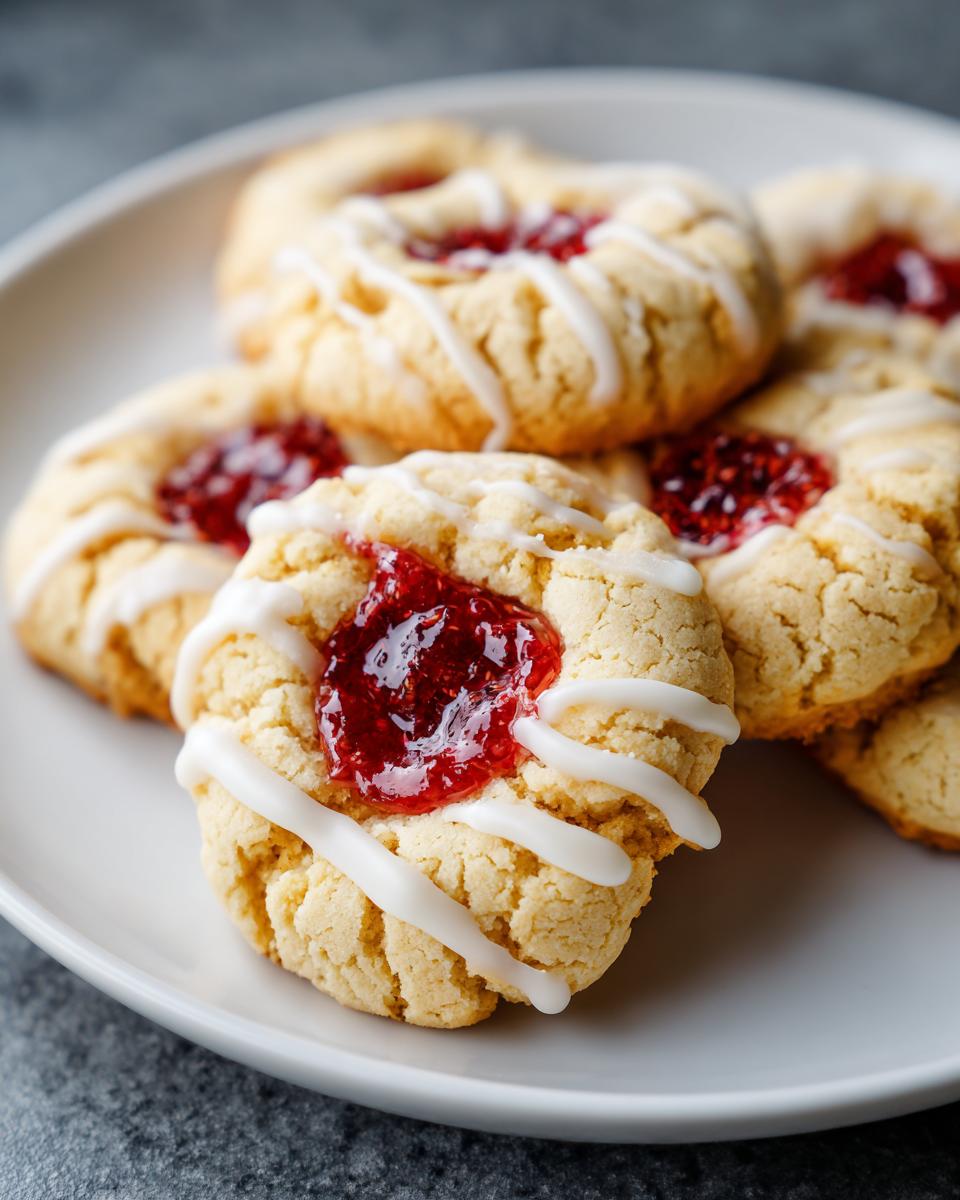
Okay, so you’ve got the recipe, you’ve got the steps, but sometimes a little insider tip can make all the difference, right? Here are a few tricks I’ve picked up over the years that really help nail these Raspberry Thumbprint Cookies:
Don’t skip the chill time! Seriously, I know it’s tempting to just roll and go, but chilling that dough for at least 30 minutes is a game-changer. It really helps the cookies keep their shape and prevents them from spreading too much in the oven, giving you those perfect little wells for the jam.
Use a jam that’s not too runny. If your jam is super thin, it might just melt into a puddle. If it’s a bit thick, you can always stir in a tiny splash of water or even a little extra raspberry purée to get it to a nice, spoonable consistency. You want it to nestle in the thumbprint, not run away!
For the icing, aim for ‘drizzly,’ not ‘drippy.’ Start with the milk amount given, and then add just a *tiny* bit more milk at a time if you need it to loosen up. It should be thick enough to coat the back of a spoon but still fluid enough to drizzle nicely without just pooling at the bottom of the cookie.
Make sure those cookies are COMPLETELY cool before icing. I cannot stress this enough! If they’re even a little bit warm, that beautiful icing will melt right off and make a mess. Patience here is key to that signature look!
Ingredient Notes and Substitutions for Jam Cookies
Let’s chat a little more about the ingredients for these Jam Cookies. The butter *really* needs to be softened, not melted, people! It’s essential for that creaming step that gives the cookies their lovely texture. If it’s too cold, it won’t cream properly, and you’ll end up with a tougher cookie.
And the jam! Raspberry is divine, but seriously, use what you love or have on hand. Strawberry, apricot, even a nice blueberry jam works beautifully. Just make sure it’s not super watery. If you want to switch things up and add a little something extra special, try a tiny pinch of almond extract in the dough alongside the vanilla – it’s a game-changer!
Make-Ahead and Storage for Iced Cookies
Good news! These Raspberry Thumbprint Cookies with Icing are fantastic for making ahead. Once they’re completely cooled and the icing is set, tuck them into an airtight container. They’ll stay fresh and delicious at room temperature for about 3-4 days. If you want to get a jump on holiday baking or just love having treats on hand, you can even freeze the *un-iced* cookie dough balls (just make sure to flatten them slightly before baking, and maybe add a few extra minutes to the bake time). You can also freeze the baked, un-iced cookies for up to a month!
Frequently Asked Questions About Raspberry Thumbprint Cookies
Can I use store-bought jam for these thumbprint cookies?
Absolutely! Store-bought jam is totally fine and super convenient. Just make sure it’s not too runny. If it seems a bit thin, you can always double up on the amount you use to fill the thumbprint, or even heat it up briefly and stir in a tiny bit of cornstarch to thicken it, though most good quality jams are perfect as-is!
Why did my raspberry thumbprint cookies spread too much?
Oh, the dreaded spread! Usually, it’s because the butter was too soft when you creamed it, or the dough wasn’t chilled long enough. Overmixing after adding the flour can also contribute. Make sure your butter is just softened (you can press into it, but it shouldn’t be melty!) and don’t skip that chilling step. It really makes a world of difference!
How long do these iced cookies last?
These iced cookies will stay yummy at room temperature in an airtight container for about 3 to 4 days. The icing helps them keep their freshness. If you’re not icing them right away, the plain cookies last even longer, and you can also freeze them!
Can I use different kinds of jam or fillings?
You bet! These are perfect jam cookies and are super versatile. Apricot, strawberry, even a nice plum or cherry jam works beautifully. You could even get creative with a few chocolate chips in the center or a dollop of caramel. Just make sure whatever you use isn’t too thin!
Estimated Nutritional Information
Okay, so keep in mind these numbers are just an educated guess, since everyone’s kitchen and ingredients are a little different! This estimate is per Raspberry Thumbprint Cookie.
Calories: Around 150
Fat: About 8g (with 5g of that being saturated fat)
Protein: Roughly 2g
Carbohydrates: Around 18g, and about 15g of that is sugar.
Sodium: Just about 30mg.
These are just to give you a general idea, but honestly, the real reward is how delicious they taste!
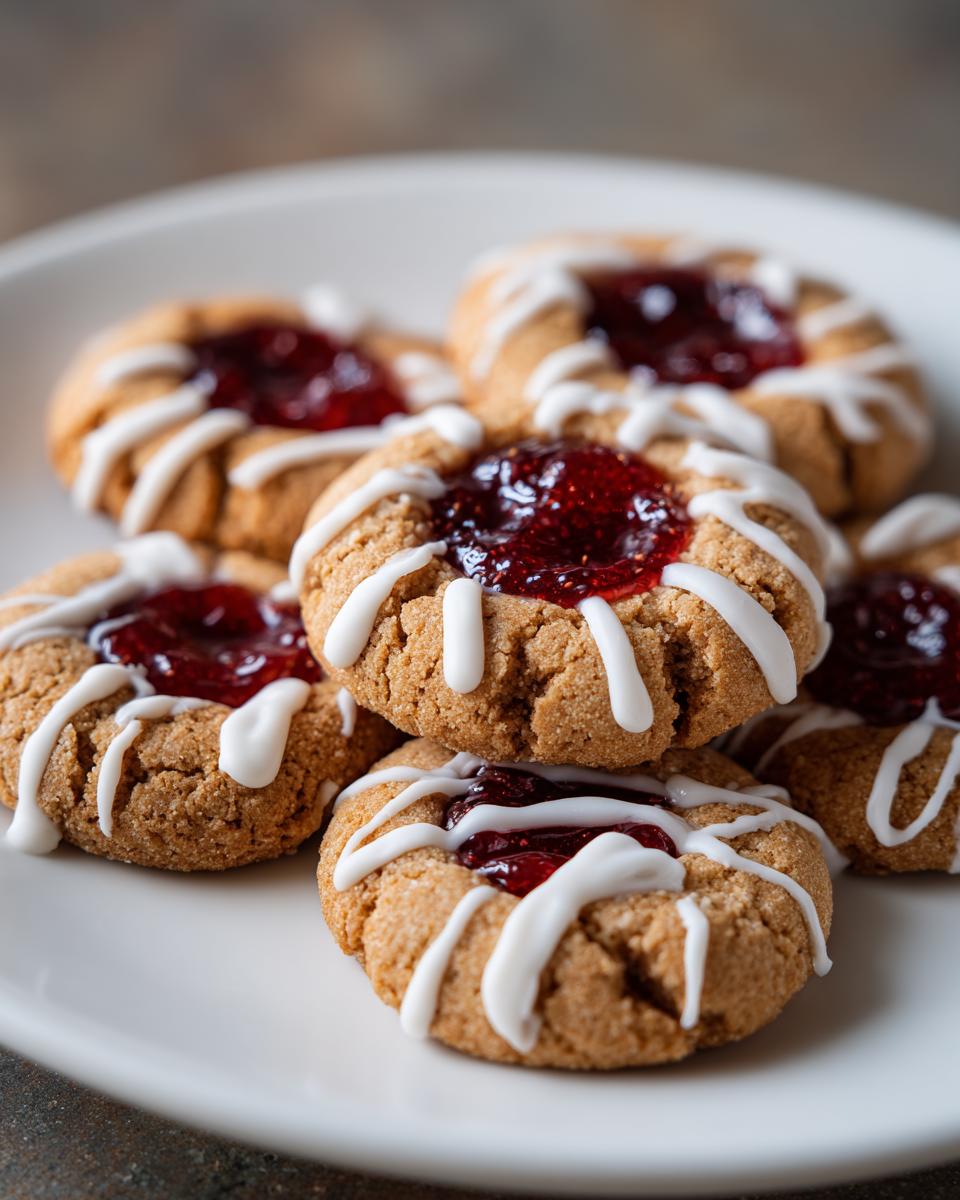
Share Your Raspberry Thumbprint Cookie Creations!
Alright, bakers, it’s your turn! I would absolutely LOVE to hear how your Raspberry Thumbprint Cookies with Icing turned out. Did you try a different jam? Did they disappear as fast as mine do? Drop a comment below and let me know your thoughts, or better yet, share a picture on social media and tag me! I can’t wait to see your sweet creations!
Print
Raspberry Thumbprint Cookies with Icing
- Total Time: 35 min
- Yield: 24 cookies 1x
- Diet: Vegetarian
Description
Classic thumbprint cookies filled with raspberry jam and topped with a simple icing.
Ingredients
- 1 cup unsalted butter, softened
- 1/2 cup granulated sugar
- 1 teaspoon vanilla extract
- 1/4 teaspoon salt
- 2 cups all-purpose flour
- 1/2 cup raspberry jam
- 1 cup powdered sugar
- 2 tablespoons milk
Instructions
- Cream together the butter and granulated sugar until light and fluffy.
- Beat in the vanilla extract and salt.
- Gradually add the flour, mixing until just combined.
- Chill the dough for 30 minutes.
- Preheat your oven to 350°F (175°C).
- Roll the dough into 1-inch balls and place them on a baking sheet.
- Press your thumb into the center of each cookie to create an indentation.
- Fill each indentation with about 1/2 teaspoon of raspberry jam.
- Bake for 12-15 minutes, or until the edges are lightly golden.
- Let the cookies cool on the baking sheet for a few minutes before transferring them to a wire rack to cool completely.
- While the cookies cool, whisk together the powdered sugar and milk until smooth to make the icing.
- Drizzle the icing over the cooled cookies.
Notes
- You can use other fruit jams if you prefer.
- For a richer flavor, you can add a pinch of almond extract to the dough.
- Prep Time: 20 min
- Cook Time: 15 min
- Category: Dessert
- Method: Baking
- Cuisine: American
Nutrition
- Serving Size: 1 cookie
- Calories: 150
- Sugar: 15g
- Sodium: 30mg
- Fat: 8g
- Saturated Fat: 5g
- Unsaturated Fat: 3g
- Trans Fat: 0g
- Carbohydrates: 18g
- Fiber: 1g
- Protein: 2g
- Cholesterol: 20mg
Keywords: Raspberry Thumbprint Cookies, Jam Cookies, Iced Cookies, Holiday Cookies, Easy Cookies

