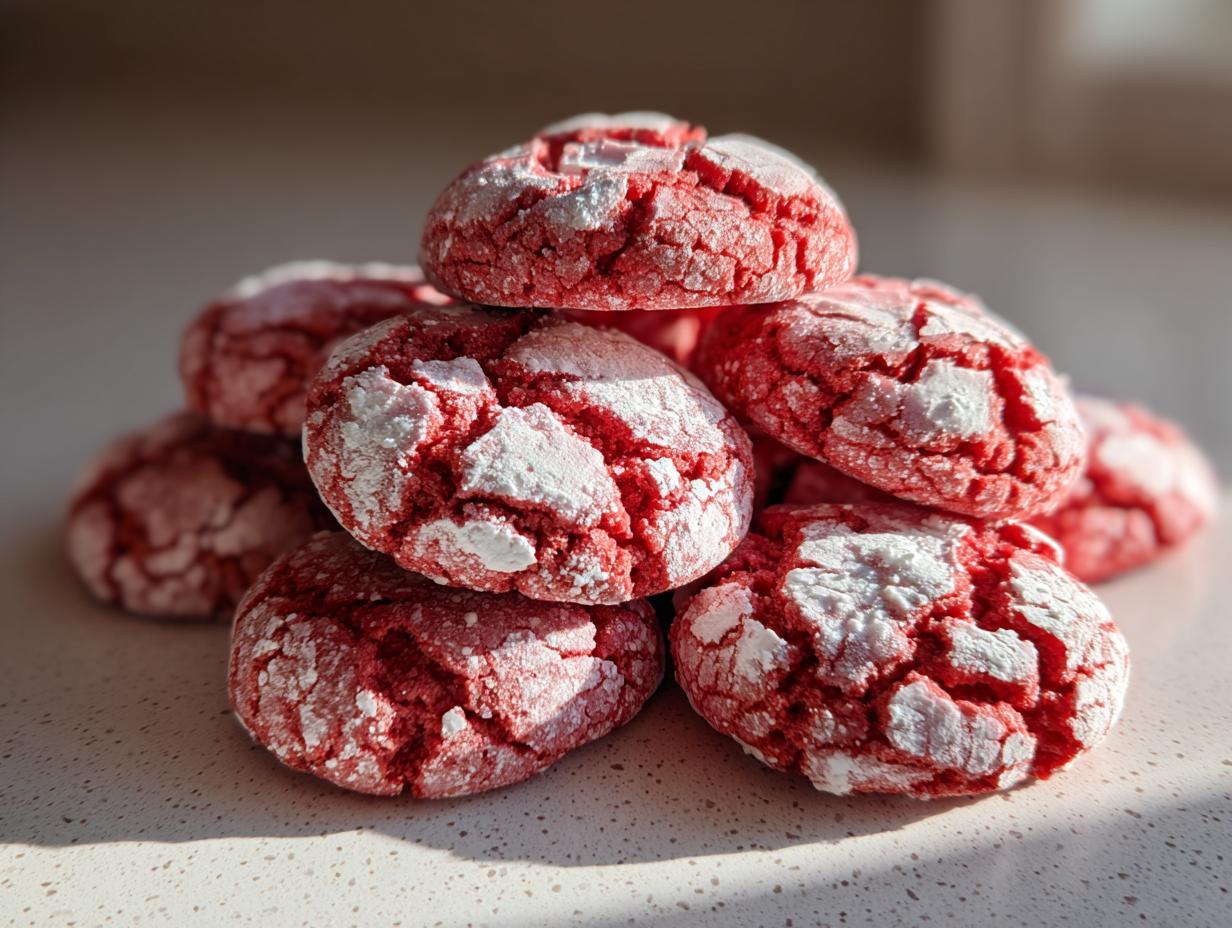
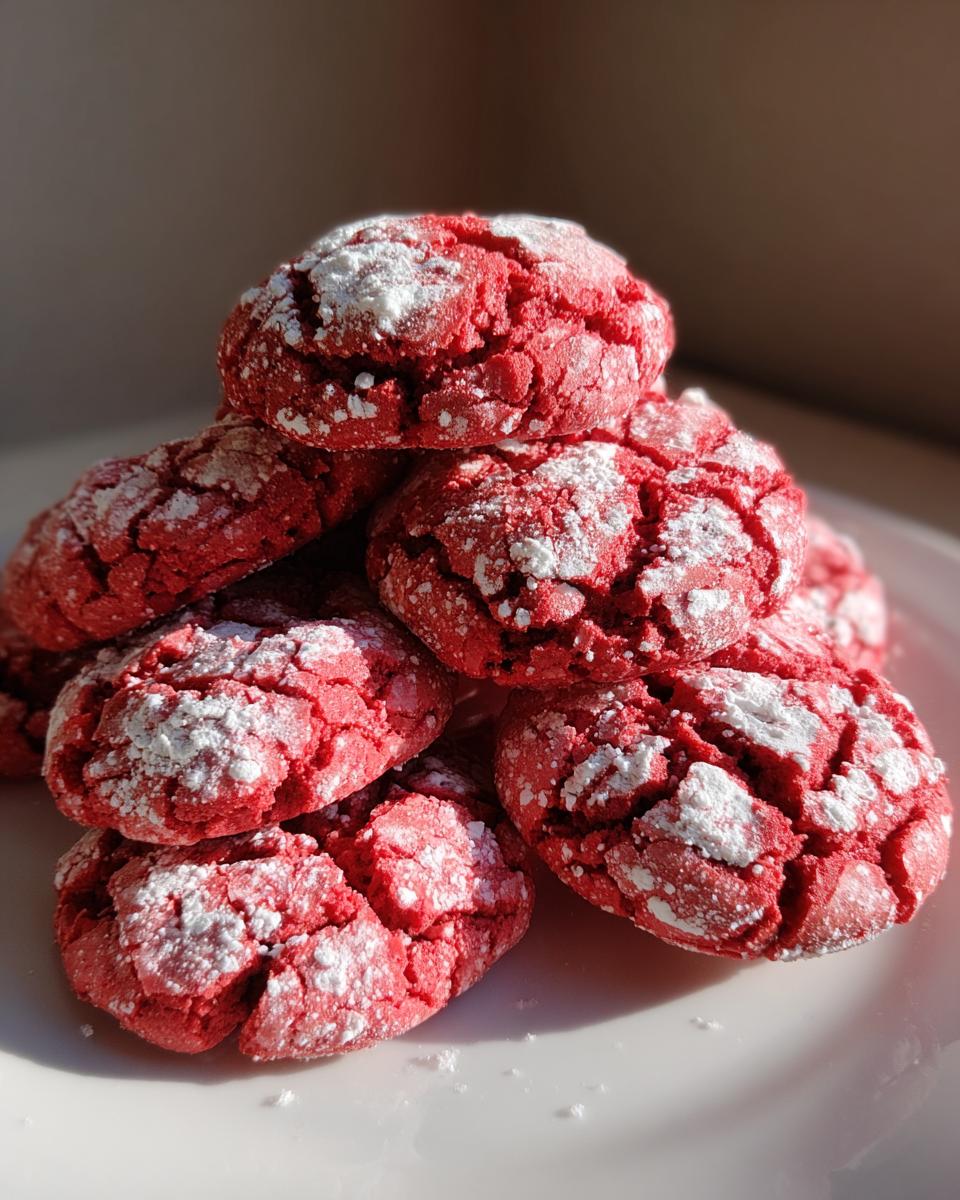
Oh, you guys! If there’s one cookie that just screams “special occasion” without being fussy, it’s gotta be these Red Velvet Crinkle Cookies. Seriously, the moment you pull these out, everyone’s eyes light up. That gorgeous vibrant red, dusted with snowy powdered sugar, and then you bite into them – that signature crinkle, the chewy texture, that hint of chocolate… it’s pure magic! They’re surprisingly easy to whip up, and honestly, the first time I made them was for a last-minute holiday bake sale, and they were gone in a flash. They’ve been a staple ever since!
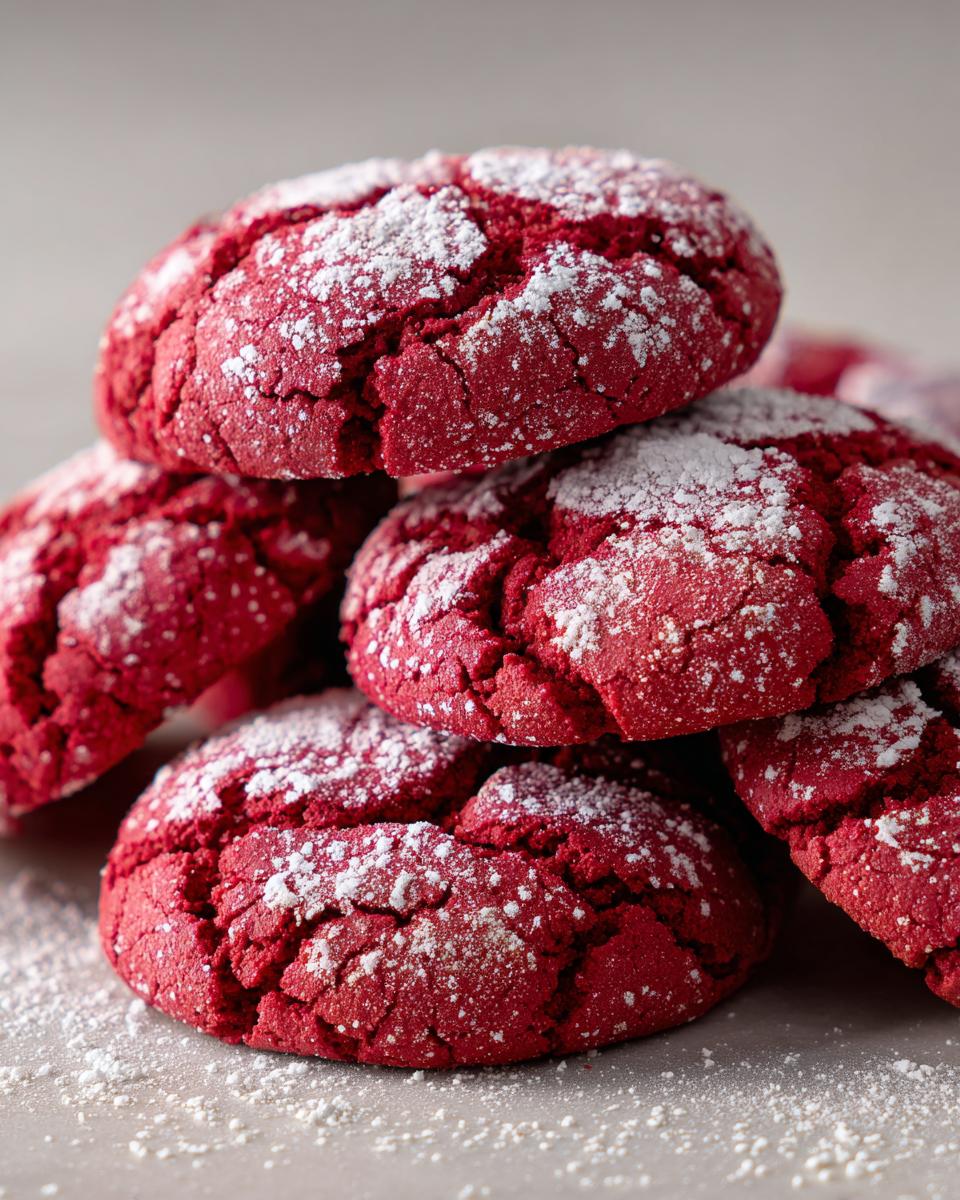
Why You’ll Love These Red Velvet Crinkle Cookies
Trust me, these cookies are a winner for so many reasons:
- Super Easy: Seriously, even if you’re new to baking, you can totally nail these.
- So Pretty! That bright red color and sugar coating make them look so festive and special.
- Perfect Texture: They’re got that amazing chewy center with slightly crisp edges, plus that fun crinkle top everyone loves.
- Delicious Flavor: A little bit of chocolatey goodness with that classic red velvet hint? Yes, please!
Gather Your Ingredients for Red Velvet Crinkle Cookies
Alright, let’s get down to business and talk ingredients! You won’t believe how simple these Red Velvet Crinkle Cookies are to make once you’ve got everything on hand. You’ll need a cup of unsalted butter, softened just right – not melted, but soft enough to mash easily – and a cup and a half of granulated sugar. Two large eggs bring everything together, and a teaspoon of vanilla extract? That’s non-negotiable for amazing flavor!
Now for that signature red velvet magic: two tablespoons of unsweetened cocoa powder for a little chocolatey depth, and a teaspoon of red food coloring. I usually go for a good quality gel food coloring if you want that super vibrant, almost impossibly bright red! You’ll also need a teaspoon of white vinegar – don’t skip this! It reacts with the baking soda to give these cookies their lift and, you guessed it, that gorgeous crinkle. A teaspoon of baking soda and a quarter teaspoon of salt are key for balance. Then, two and a half cups of all-purpose flour to give the cookies their structure. And finally, a whole cup of powdered sugar; you’ll need it for rolling these beauties before they bake!
Essential Equipment for Perfect Red Velvet Crinkle Cookies
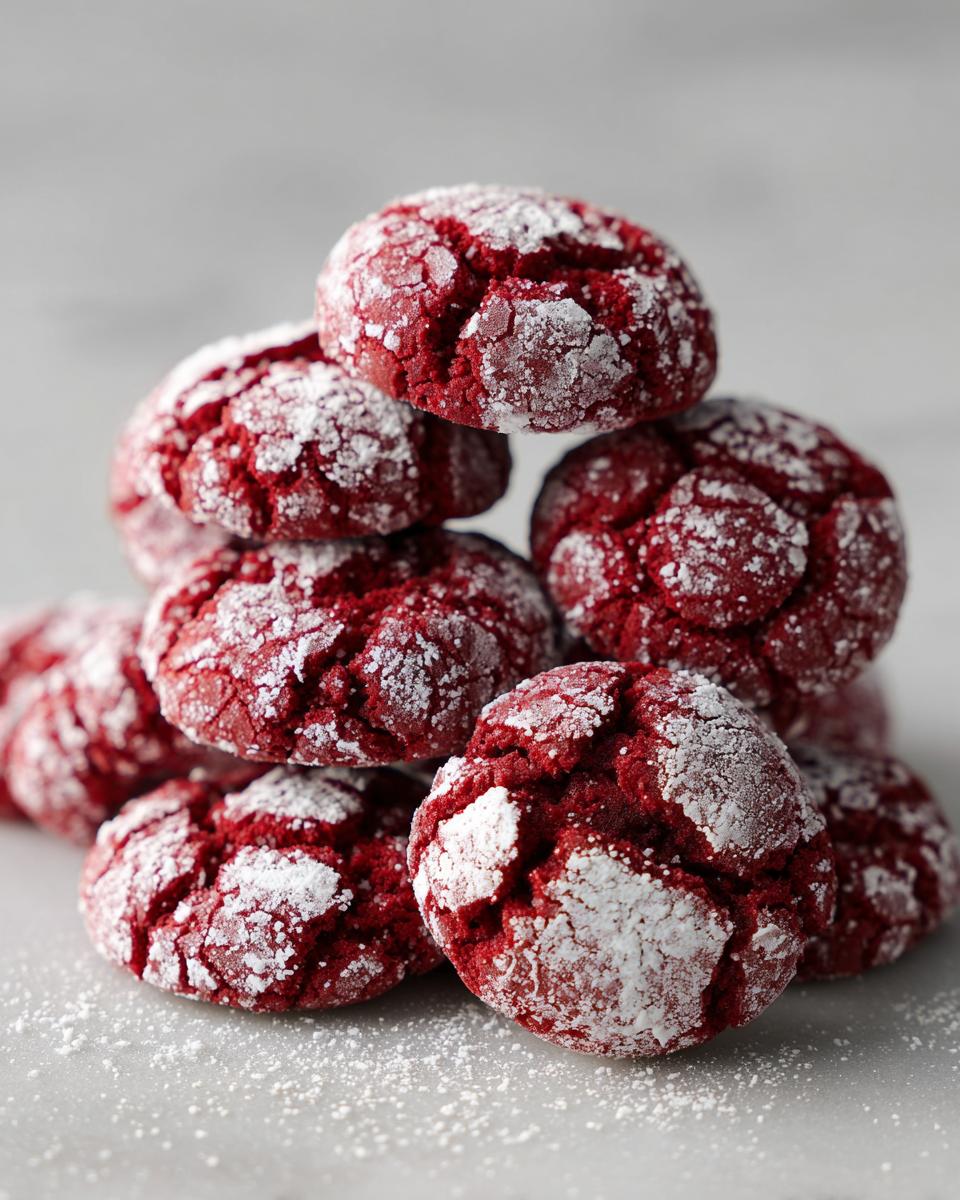
To get these Red Velvet Crinkle Cookies just right, you’ll want to have a few trusty kitchen helpers ready. First off, a large mixing bowl is a must for creaming all those wet ingredients. An electric mixer (handheld or stand mixer) really makes the creaming process a breeze, getting that butter and sugar perfectly fluffy. You’ll also need a couple of baking sheets, and trust me, lining them with parchment paper is a game-changer for easy cleanup and preventing sticking. Oh, and don’t forget a shallow bowl for the powdered sugar – you want plenty of room to really coat those dough balls! A wire rack is essential for letting your beautiful cookies cool down properly. And make sure you have your measuring cups and spoons handy to get those ingredients exactly right – you can check out how to measure ingredients accurately if you need a refresher!
Step-by-Step Guide to Making Red Velvet Crinkle Cookies
Okay, ready to make these beauties? It’s easier than you think! We’re going to break it down step-by-step to get those perfect Red Velvet Crinkle Cookies.
Creaming the Base for Your Red Velvet Crinkle Cookies
First things first, let’s get that butter and sugar creaming. You want to whip them together until they’re super light and fluffy. This is key for a tender cookie, so don’t rush this part!
Incorporating Wet Ingredients and Red Velvet Flavor
Next, beat in your eggs one at a time, then swirl in that vanilla extract. Now for the fun part: whisk the cocoa powder, red food coloring, and white vinegar together in a little bowl. It’ll look kind of like a little science experiment! Add that vibrant mixture to your butter and sugar and mix it all up until it’s just combined. That’s where that gorgeous red velvet color and flavor really start to shine.
Combining Dry Ingredients and Forming the Dough
In another bowl, whisk together your baking soda, salt, and flour. Now, very gradually, add these dry bits to your wet, creamy mixture. Mix until it’s just *barely* combined. Seriously, stop as soon as you don’t see big streaks of flour. Overmixing at this stage is the enemy of tender cookies!
Chilling the Dough for Optimal Crinkle Effect
This is super important for those crinkle tops! Cover your dough and pop it in the fridge for at least an hour. You want it firm enough to roll into balls. If it’s too soft, the sugar coating will just fall off, and you won’t get that amazing crinkled look. Patience here really pays off!
Shaping and Rolling Your Red Velvet Crinkle Cookies
While your dough chills, preheat your oven to 350°F (175°C) and line your baking sheets. Get a shallow bowl ready with your powdered sugar. Once the dough is nice and firm, scoop out about 1-inch balls. Roll each ball all over in the powdered sugar, making sure it’s completely coated. You want a nice thick layer so it really puffs up and cracks in the oven!
Baking the Perfect Red Velvet Crinkle Cookies
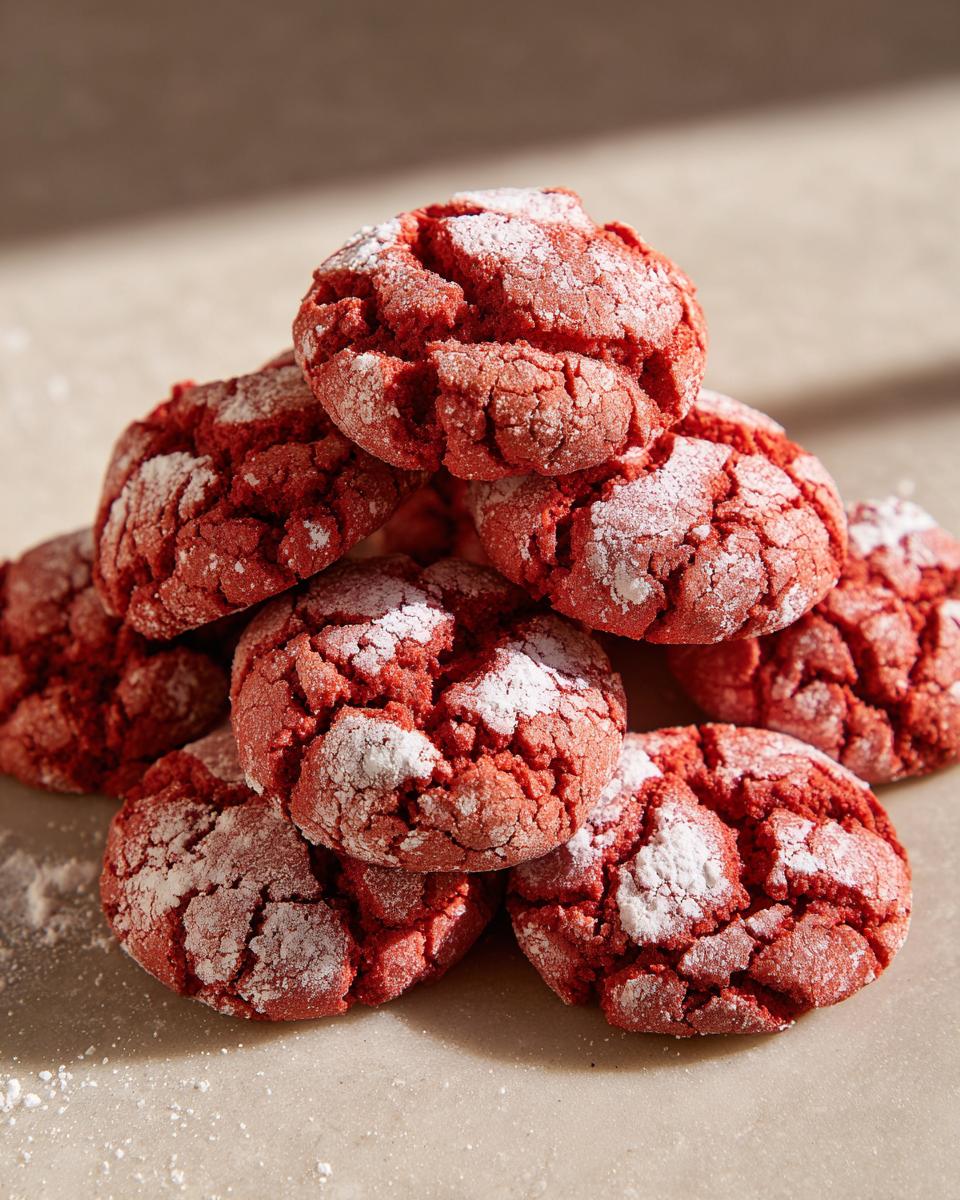
Place your sugar-coated dough balls about two inches apart on those prepared baking sheets. Now, pop them in the oven for about 10 to 12 minutes. You’re looking for the edges to be set, but the centers should still look a little soft. They’ll finish baking as they cool! Let them hang out on the baking sheet for a few minutes before carefully moving them to a wire rack to cool completely.
Tips for Success with Red Velvet Crinkle Cookies
Okay, so you’ve got the recipe and you’re ready to go, but here are a few little tricks that make these Red Velvet Crinkle Cookies absolutely divine, every single time. First off, that red food coloring can sometimes be a bit shy! If you want a *really* deep, stunning red, don’t be afraid to use a good gel food coloring. A little goes a long way, and it gives you way more color power than the liquid stuff. Also, that chilling step? It’s non-negotiable for perfect crinkles and cookies that don’t spread into flat puddles. If your kitchen is super warm, you might even want to chill the dough balls *again* after rolling them in sugar before they hit the oven. Trust me on this one – it makes all the difference!
Ingredient Notes and Substitutions for Red Velvet Crinkle Cookies
Let’s chat a bit more about these ingredients, because sometimes a little tweak can make a big difference with these Red Velvet Crinkle Cookies! For that super intense red color, I really, *really* recommend using a gel food coloring. It’s way more concentrated than the liquid stuff, so you get a brighter hue without making your dough too watery. If you can’t find it, you might need a bit more liquid food coloring, but just be mindful not to add too much extra liquid! As for butter, unsalted is generally preferred in baking so you can control the salt level yourself. But, if you only have salted butter on hand, no worries – just reduce the added salt in the recipe by about a quarter teaspoon. And don’t be afraid to explore! Maybe you want a richer chocolate flavor? Try using Dutch-process cocoa powder, though it might slightly affect the red color. You can read up on how red velvet gets its color over at Food Network for some extra background!
Storing and Reheating Your Red Velvet Crinkle Cookies
Alright, so you’ve baked up a batch of these gorgeous Red Velvet Crinkle Cookies and want them to stay tasty for as long as possible. The best way to keep them fresh and wonderfully chewy is to store them in an airtight container right on your counter. I usually layer them between sheets of parchment paper so they don’t stick together. They’re usually best within 3 to 4 days, though let’s be honest, they never last that long in my house! If for some wild reason you have leftovers, they can be popped in the fridge for a bit longer, but I find they lose a bit of their chewiness there. Reheating is simple – just a few seconds in the microwave or a quick warm in a low oven can refresh them if they’ve gotten a little stale.
Frequently Asked Questions About Red Velvet Crinkle Cookies
Got questions about these dazzling Red Velvet Crinkle Cookies? I hear ya! Baking something new can bring up a few things, but don’t worry, I’ve got you covered.
Why aren’t my Red Velvet Crinkle Cookies crinkling?
Oh, the dreaded flat cookie! The biggest culprit here is usually not chilling the dough enough. The dough needs to be nice and firm so it doesn’t spread too much in the oven. Also, make sure you’re rolling them generously in powdered sugar – that coating puffs up and creates those gorgeous cracks. Sometimes, if your oven runs a little hot, they might spread more, so keeping an eye on them is key!
Can I make these cookies without red food coloring?
Technically, yes, you *can* skip the red food coloring. They’ll then just be chocolate crinkle cookies with a hint of cocoa powder and vinegar. They’ll still be delicious with that crinkle effect and chewy texture! However, you’ll lose that signature “red velvet” look that makes them so special and festive. If you’re after that vibe, I really recommend using a vibrantly colored food coloring, like a gel version.
How long do these Red Velvet Crinkle Cookies last?
These cookies are best enjoyed fresh, usually within about 3 to 4 days. I find they stay wonderfully chewy when stored in an airtight container at room temperature. Just make sure they’re completely cooled before you seal that container up, otherwise, you might end up with unwanted moisture! If you need them to last a bit longer, you can pop them in the fridge, but they might lose some of that perfect chewy texture.
My cookies are spreading too much. What can I do?
A little spread is normal, especially with cookies! But if yours are turning into flat puddles, several things could be happening. First, make sure your butter wasn’t too soft or melted when you creamed it. Second, chilling the dough is absolutely crucial – don’t skip it! You want it firm enough to hold its shape. If you’re finding they still spread, try chilling the rolled balls *again* for another 15-20 minutes before baking. Also, make sure your oven temperature is accurate; an oven thermometer can be a lifesaver!
Estimated Nutritional Information
Just a heads-up, the nutritional info for these Red Velvet Crinkle Cookies is an estimate, okay? It can totally change based on the brands you use or if you make any little tweaks. But generally, one cookie comes in around 180 calories, with about 9g of fat and a solid 18g of sugar. They’ve also got about 23g of carbs. Enjoy!
Share Your Red Velvet Crinkle Cookie Creations!
Did you whip up a batch of these festive Red Velvet Crinkle Cookies? I’d absolutely LOVE to see them! Please leave a comment below to let me know how they turned out or share your photos on social media – you can tag me using #MyFavoriteCookies. Happy baking, everyone!
Print
Red Velvet Crinkle Cookies
- Total Time: 1 hour 32 min
- Yield: 24 cookies 1x
- Diet: Vegetarian
Description
Chewy red velvet cookies rolled in powdered sugar for a festive crinkle effect.
Ingredients
- 1 cup (2 sticks) unsalted butter, softened
- 1 1/2 cups granulated sugar
- 2 large eggs
- 1 teaspoon vanilla extract
- 2 tablespoons unsweetened cocoa powder
- 1 teaspoon red food coloring
- 1 teaspoon white vinegar
- 1 teaspoon baking soda
- 1/4 teaspoon salt
- 2 1/2 cups all-purpose flour
- 1 cup powdered sugar, for rolling
Instructions
- Cream together the softened butter and granulated sugar in a large bowl until light and fluffy.
- Beat in the eggs one at a time, then stir in the vanilla extract.
- In a small bowl, whisk together the cocoa powder, red food coloring, and white vinegar. Add this mixture to the butter mixture and mix until well combined.
- In a separate bowl, whisk together the baking soda, salt, and flour. Gradually add the dry ingredients to the wet ingredients, mixing until just combined. Do not overmix.
- Cover the dough and refrigerate for at least 1 hour, or until firm enough to roll.
- Preheat your oven to 350°F (175°C). Line baking sheets with parchment paper.
- Place the powdered sugar in a shallow bowl.
- Scoop the cookie dough into 1-inch balls. Roll each ball in the powdered sugar, ensuring it is fully coated.
- Place the coated dough balls about 2 inches apart on the prepared baking sheets.
- Bake for 10-12 minutes, or until the edges are set and the centers are still slightly soft.
- Let the cookies cool on the baking sheets for a few minutes before transferring them to a wire rack to cool completely.
Notes
- For a deeper red color, you can use gel food coloring.
- Ensure the dough is well chilled before rolling for the best crinkle effect.
- Store cooled cookies in an airtight container at room temperature.
- Prep Time: 20 min
- Cook Time: 12 min
- Category: Dessert
- Method: Baking
- Cuisine: American
Nutrition
- Serving Size: 1 cookie
- Calories: 180
- Sugar: 18g
- Sodium: 75mg
- Fat: 9g
- Saturated Fat: 6g
- Unsaturated Fat: 3g
- Trans Fat: 0g
- Carbohydrates: 23g
- Fiber: 1g
- Protein: 2g
- Cholesterol: 30mg
Keywords: red velvet cookies, crinkle cookies, chocolate cookies, holiday cookies, easy cookies, festive dessert

