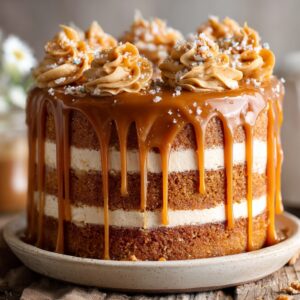
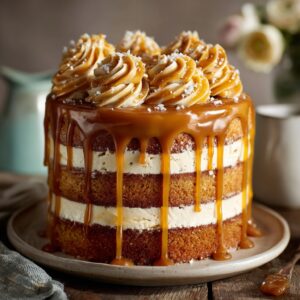
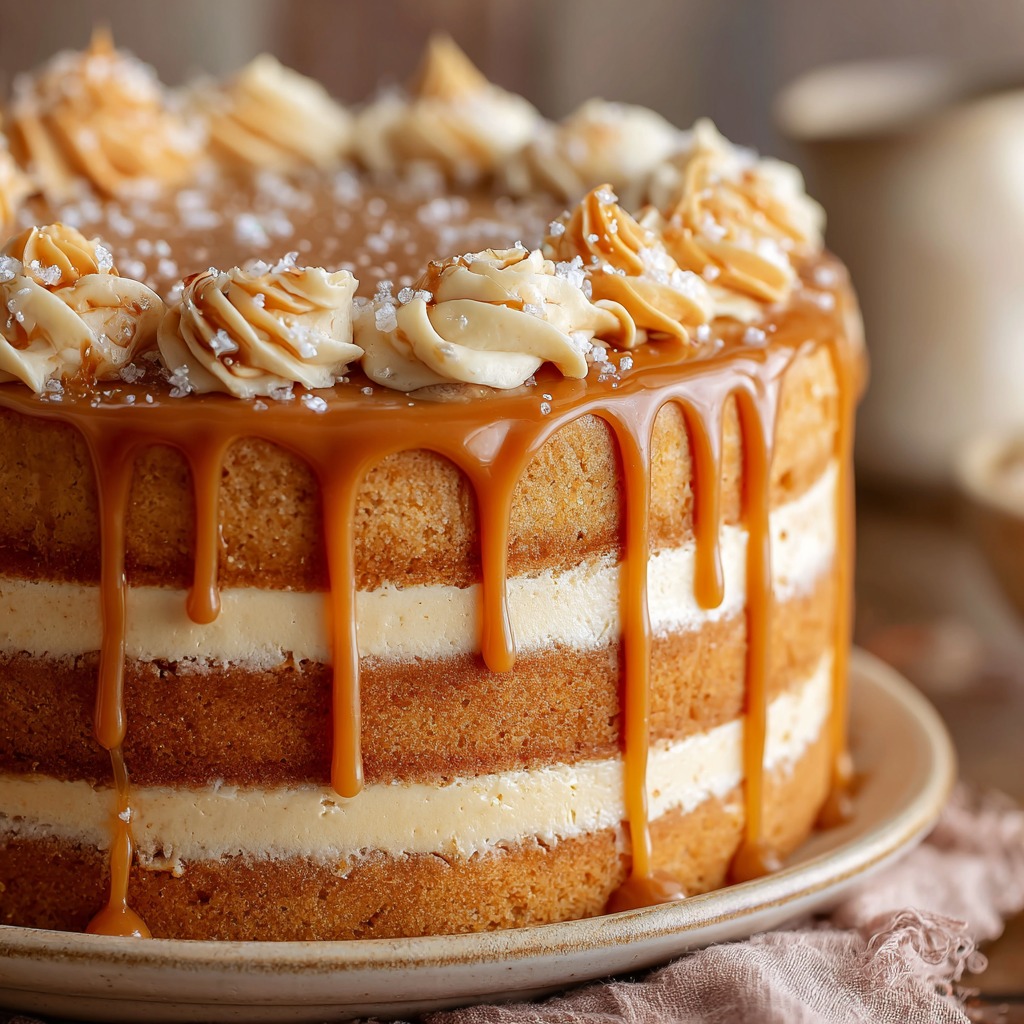
This Salted Caramel Layer Cake is the kind of dessert that stops time at the table. You know the one. The cake that makes people go quiet, just for a moment, while they take that first bite—and then suddenly everyone’s asking for the recipe. It’s deeply decadent, rich with caramel flavor, and topped with just enough sea salt to make the sweetness sing. I’m so grateful to share this recipe with you today, and if you’re anything like me, it’ll be the star of birthdays, holidays, and pretty much any gathering from now on.
If you’d like this recipe delivered straight to your inbox (and a whole library of irresistible treats!), don’t forget to subscribe. I send out my most-loved recipes each week—and this one is already a subscriber favorite!
Salted Caramel Layer Cake Recipe
This Salted Caramel Layer Cake is made with soft, buttery vanilla cake layers soaked in caramel syrup, filled with a creamy salted caramel buttercream, and topped with a gorgeous caramel drip. It’s an elegant showstopper that still feels homey and comforting. The perfect balance of sweet and salty makes it almost too easy to go back for seconds (or thirds… no judgment here!).
Why You’ll Love This Salted Caramel Cake

There’s just so much to adore here. First, the contrast of textures: moist, fluffy cake layers against silky buttercream and sticky, rich caramel. Then there’s the flavor: deep, almost toffee-like caramel that’s balanced by the tiniest hit of flaky sea salt. I mean it—this cake tastes like something out of a dream!
I love that this recipe feels special enough for a celebration but is still totally doable for a confident home baker. The steps are broken down to keep it approachable, and I’ll walk you through every swirl and drizzle.
What Does Salted Caramel Layer Cake Taste Like?
In a word: indulgent. But let’s dig deeper. The cake itself is tender and slightly dense, rich with vanilla and just enough buttermilk to keep it moist. The buttercream is light and fluffy, but that salted caramel folded into it? Game changer. It adds a toasty, slightly smoky depth that makes each bite feel luxurious. Then you get that glossy caramel topping with a sprinkle of flaky salt—it’s buttery, sweet, and salty all at once. Think of it like a grown-up twist on your favorite caramel candy bar, turned into cake form.
Healthier Than You Think (Sort Of…)
Okay, it’s still cake—but hear me out! This recipe uses real, whole ingredients like butter, cream, and eggs, without artificial flavors or preservatives. Plus, because the flavor is so bold and satisfying, a small slice really hits the spot. It’s a great reminder that treats can absolutely be part of a balanced lifestyle.
Ingredients
Here’s everything you’ll need to bring this beauty to life:
For the cake layers:
2 ½ cups all-purpose flour
2 ½ tsp baking powder
½ tsp baking soda
½ tsp fine sea salt
1 cup unsalted butter, room temperature
1 ¾ cups granulated sugar
4 large eggs
1 tbsp pure vanilla extract
1 cup buttermilk
For the salted caramel:
1 cup granulated sugar
6 tbsp unsalted butter, room temperature
½ cup heavy cream
1 tsp flaky sea salt (plus more for garnish)
For the caramel buttercream:
1 ½ cups unsalted butter, room temperature
5 cups powdered sugar
½ cup salted caramel (from above)
2 tbsp heavy cream (as needed for texture)
For decorating:
Remaining salted caramel
Flaky sea salt
Optional: caramel shards, crushed toffee, or gold sprinkles for flair
Tools You’ll Need
Stand mixer or handheld electric mixer
3 x 8-inch round cake pans
Offset spatula
Parchment paper
Saucepan for caramel
Cake turntable (optional, but helpful for decorating)
Ingredient Swaps and Add-Ins
No buttermilk? Mix 1 cup milk with 1 tbsp white vinegar or lemon juice and let sit for 5 minutes.
Add texture: Try folding in some finely chopped toasted pecans between the layers.
Buttercream variation: Add a little cinnamon or espresso powder to the buttercream for a spiced or coffee-kissed version.
Extra caramel: No one ever complains. Double the caramel recipe if you want extra for drizzling over slices when serving!
How to Make Salted Caramel Layer Cake

Step 1: Make the caramel
In a heavy-bottomed saucepan over medium heat, melt the sugar until it turns a deep amber. Stir constantly—don’t walk away! Add the butter (carefully, it will bubble!) and whisk until melted. Slowly pour in the cream and whisk until smooth. Remove from heat and stir in sea salt. Let cool completely.
Step 2: Bake the cake layers
Preheat oven to 350°F (175°C). Grease and line your cake pans. In a bowl, whisk flour, baking powder, baking soda, and salt. In a large bowl, cream butter and sugar until fluffy. Add eggs one at a time, beating well after each. Mix in vanilla. Alternate adding dry ingredients and buttermilk, starting and ending with flour mixture. Divide batter between pans and bake 25–30 minutes or until a toothpick comes out clean. Cool completely.
Step 3: Make the buttercream
Beat butter until pale and fluffy, about 3 minutes. Add powdered sugar one cup at a time. Add the salted caramel and continue beating. If needed, add heavy cream a tablespoon at a time to reach your desired consistency.
Step 4: Assemble the cake
Level your cake layers if needed. Spread a layer of buttercream between each cake layer, stacking as you go. Use a thin layer of frosting around the cake for a crumb coat, chill for 20 minutes, then frost fully.
Step 5: Caramel drizzle + finish
Gently warm the remaining caramel if it’s too thick to drizzle. Pour over the top of the cake and gently nudge it to drip over the edges. Sprinkle with flaky salt and any decorations you like. Chill briefly to set.
What to Serve With Salted Caramel Layer Cake
Honestly, this cake holds its own, but if you want to round out the dessert table, here are a few ideas:
Fresh raspberries or poached pears on the side
A scoop of vanilla or cinnamon ice cream
Cold brew or espresso to balance the sweetness
Sparkling rosé or a dessert wine for something festive
Tips for Success
Make the caramel first so it has time to cool before folding into the buttercream
Use room temperature ingredients to help everything mix more smoothly
Chill between steps to make decorating easier, especially if your kitchen is warm
Don’t overbake—check your cake layers right at 25 minutes
Use a serrated knife or dental floss for clean slices
How to Store It
This cake stores beautifully! Here’s how to keep it fresh:
At room temp: Covered cake can sit out for up to 2 days in a cool environment
In the fridge: Store in an airtight container for up to 5 days
Freezing: You can freeze unfrosted cake layers for up to 2 months, tightly wrapped. Thaw before frosting
Frequently Asked Questions
Can I make this ahead of time?
Yes! Bake the cake layers up to 2 days in advance and wrap tightly. You can also make the caramel and buttercream a day ahead—just bring them to room temp before using.
Can I make this gluten-free?
You can substitute a 1:1 gluten-free flour blend, though texture may vary slightly. Be sure your other ingredients (like baking powder) are also gluten-free.
Can I use store-bought caramel?
Yes, though homemade caramel adds more depth. If using store-bought, go for a high-quality version and stir in a bit of sea salt to taste.
Do I need a candy thermometer for the caramel?
Not strictly, but it helps. You’re aiming for a deep amber color, around 350°F (175°C).
A Sweet Recap
So there you have it—Salted Caramel Layer Cake, a dessert that’s as stunning as it is scrumptious. It’s rich, buttery, perfectly sweet with just the right salty finish. Whether you’re baking it for a birthday, holiday, or “just because” weekend treat, it’s guaranteed to impress.
Want more caramel goodness in your life? Check out these reader-favorite recipes next:
Salted Caramel Apple Crumble
Caramel Pecan Sticky Buns
Caramel Swirl Cheesecake Bars
Share Your Sweet Creations!
If you try this Salted Caramel Layer Cake, I’d LOVE to see it! Leave a review below, pin it on Pinterest, or tag me in your cake photos—I’m always cheering you on from my kitchen to yours!
Nutrition Information (Per Slice, based on 12 slices)
Calories: ~610
Fat: 36g
Carbs: 72g
Sugar: 58g
Protein: 4g
Now go grab your whisk—and let’s get baking!

