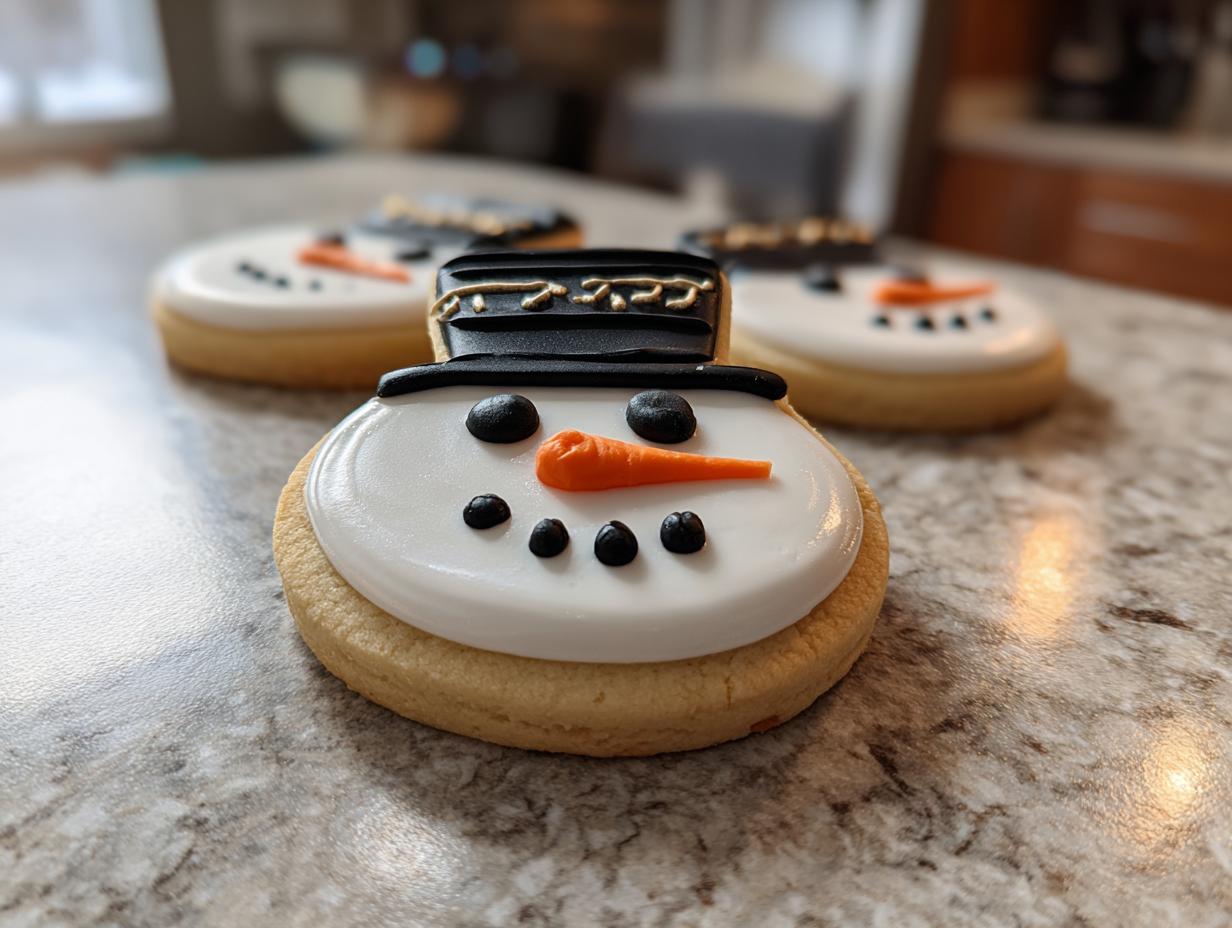
The holidays are here, and honestly, is there anything better than a kitchen filled with the sweet scent of baking and happy chaos? For me, it’s all about creating little moments of magic, especially when it comes to festive treats. That’s why I’m SO excited to share my absolute favorite recipe: easy and totally adorable Snowman Hat Cookies! These aren’t just pretty; they’re genuinely simple to whip up, making them perfect for baking with little helpers or just treating yourself. I remember making these with my niece last year, and the giggles were almost as sweet as the cookies themselves!
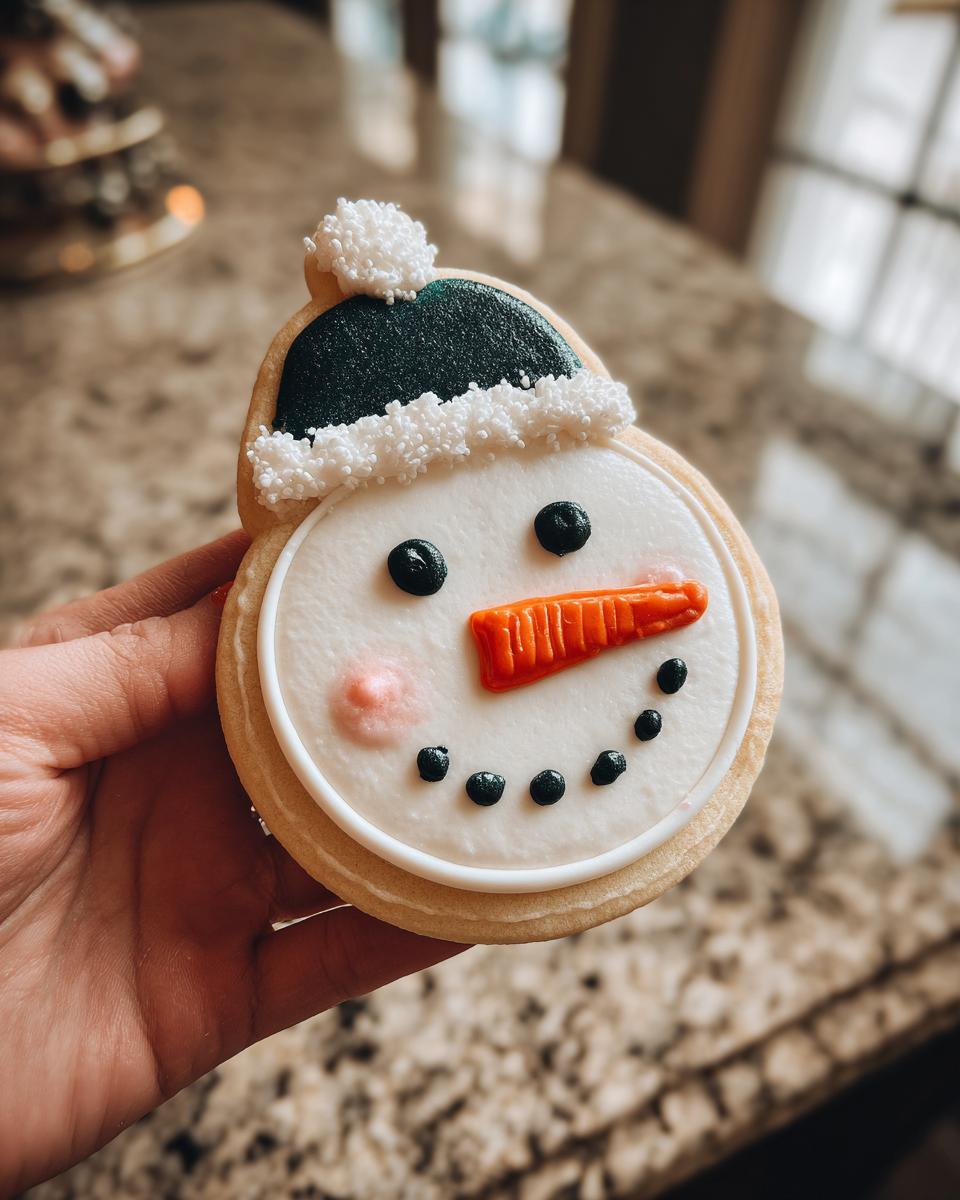
Why You’ll Love These Snowman Hat Cookies
Seriously, these cookies are a total win, and here’s why:
- They’re incredibly easy to make – even if you’re a beginner baker!
- The decorating is the best part, and it’s super fun for all ages.
- They’re the absolute perfect festive treat for all your holiday gatherings.
- They taste just as amazing as they look – a truly delicious sugar cookie base.
- You can totally customize them to match your style!
Gather Your Ingredients for Snowman Hat Cookies
Okay, let’s get down to business! To make these darling Snowman Hat Cookies, you’ll want to gather these goodies. Trust me, using good ingredients makes all the difference. First up, you’ll need 1 cup of unsalted butter that’s been nicely softened – not melted, but soft enough that you can easily press your finger into it. Then, we’ve got 1/2 cup of granulated sugar for that perfect sweetness. For richness, grab 1 large egg and about 1 teaspoon of pure vanilla extract; the real stuff is always best! For the dry ingredients, it’s a simple mix of 2 1/2 cups of all-purpose flour, 1/2 teaspoon of baking powder to give them just a little lift, and 1/4 teaspoon of salt to balance everything out.
Now for the really fun part – the decorating! You’ll need some black decorating icing for the hat bands and to connect the pieces, plus a little bit of orange decorating icing for that cute carrot nose. And of course, no snowman hat is complete without some white frosting for eyes and a cheerful mouth!
Essential Equipment for Making Snowman Hat Cookies
Alright, let’s talk tools! Having the right equipment makes this whole process so much smoother. You’ll definitely want some sturdy baking sheets, and I always line mine with parchment paper – makes cleanup a breeze and stops any sticking. For shaping our hats, grab a couple of different-sized round cookie cutters; think a larger one for the brim and a smaller one for the top part. A good old-fashioned wire rack is essential for letting the cookies cool completely before we get to the fun decorating part. And of course, you’ll need some mixing bowls, a good electric mixer (or a strong arm and a whisk!), and maybe a spatula!
Step-by-Step Guide to Perfect Snowman Hat Cookies
Alright, let’s get these adorable Snowman Hat Cookies made! Follow these steps, and you’ll be amazed at how easily you can create these festive little guys. It’s really a straightforward process, even for beginners!
Preparing the Snowman Hat Cookie Dough
First things first, let’s make the cookie dough. Grab your softened butter and granulated sugar and whip them together in a nice big bowl – an electric mixer makes this super fast and fluffy, but a whisk and some elbow grease works too. Once it’s light and airy, beat in that egg and the vanilla extract. In a separate bowl, give your flour, baking powder, and salt a quick whisk together. Now, add the dry stuff to the wet stuff, mixing *just* until it all comes together into a dough. Don’t overmix! Then, divide the dough in half, wrap each piece up tight in plastic wrap, and let it chill in the fridge for at least 30 minutes. This is super important for preventing your Snowman Hat Cookies from spreading too much in the oven! Want to know more about preventing cookie spreading? Check out these tips!
Shaping and Baking Your Snowman Hat Cookies
Okay, dough is chilled! Preheat your oven to 350°F (175°C) and get your baking sheets ready with parchment paper. On a lightly floured surface, roll out one half of your dough to about a quarter-inch thick. Now for the fun shaping! Use your larger round cutter to make the brims and then your smaller cutter (or a knife) to cut out the circles for the top part of the hats. Pop those onto your prepared baking sheets. Repeat with the rest of your dough. Bake these beauties for about 10-12 minutes, or until the edges are just looking a little golden. Let them cool on the baking sheet for a few minutes before moving them to a wire rack to cool completely. Patience is key here – hot cookies and icing are a no-go!
Decorating the Festive Snowman Hat Cookies
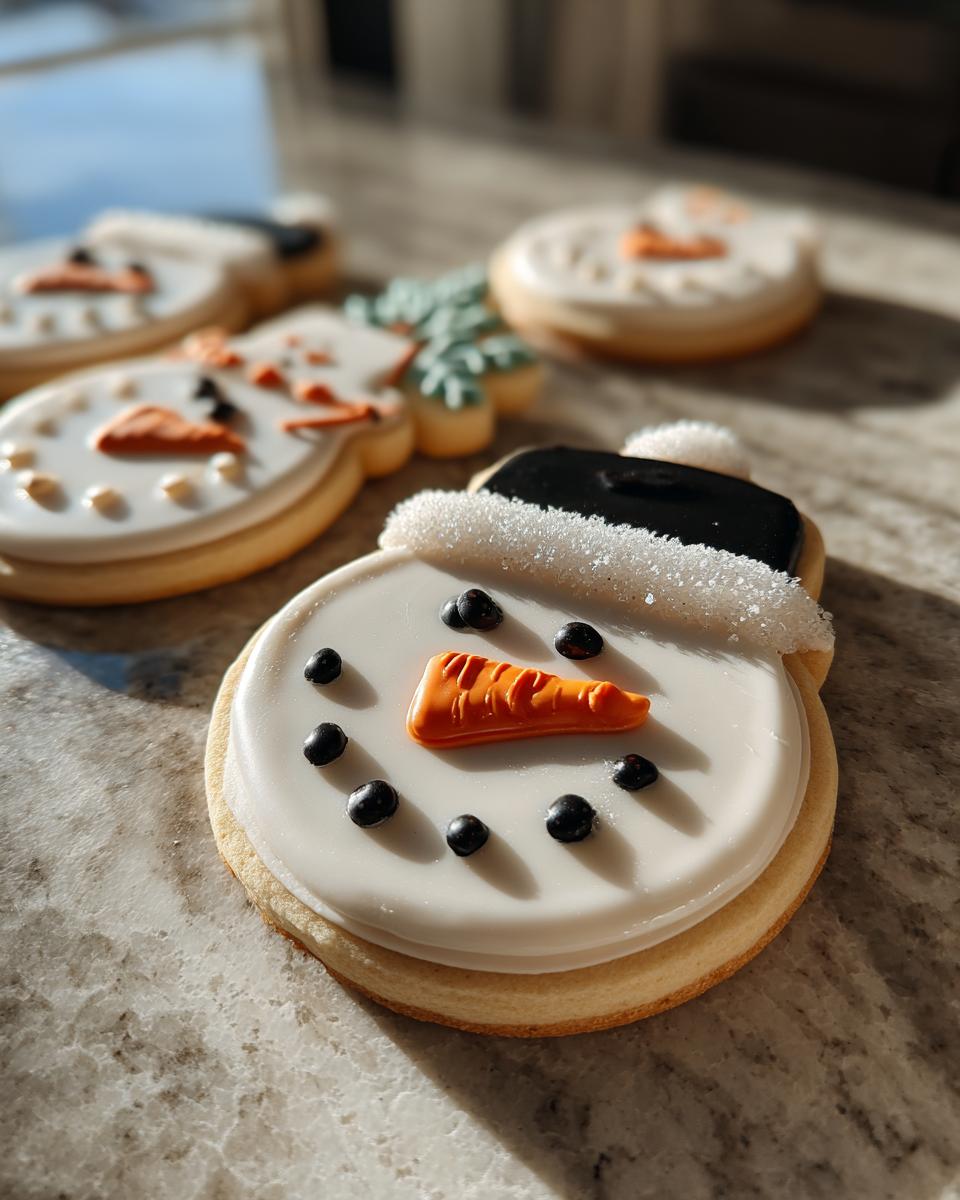
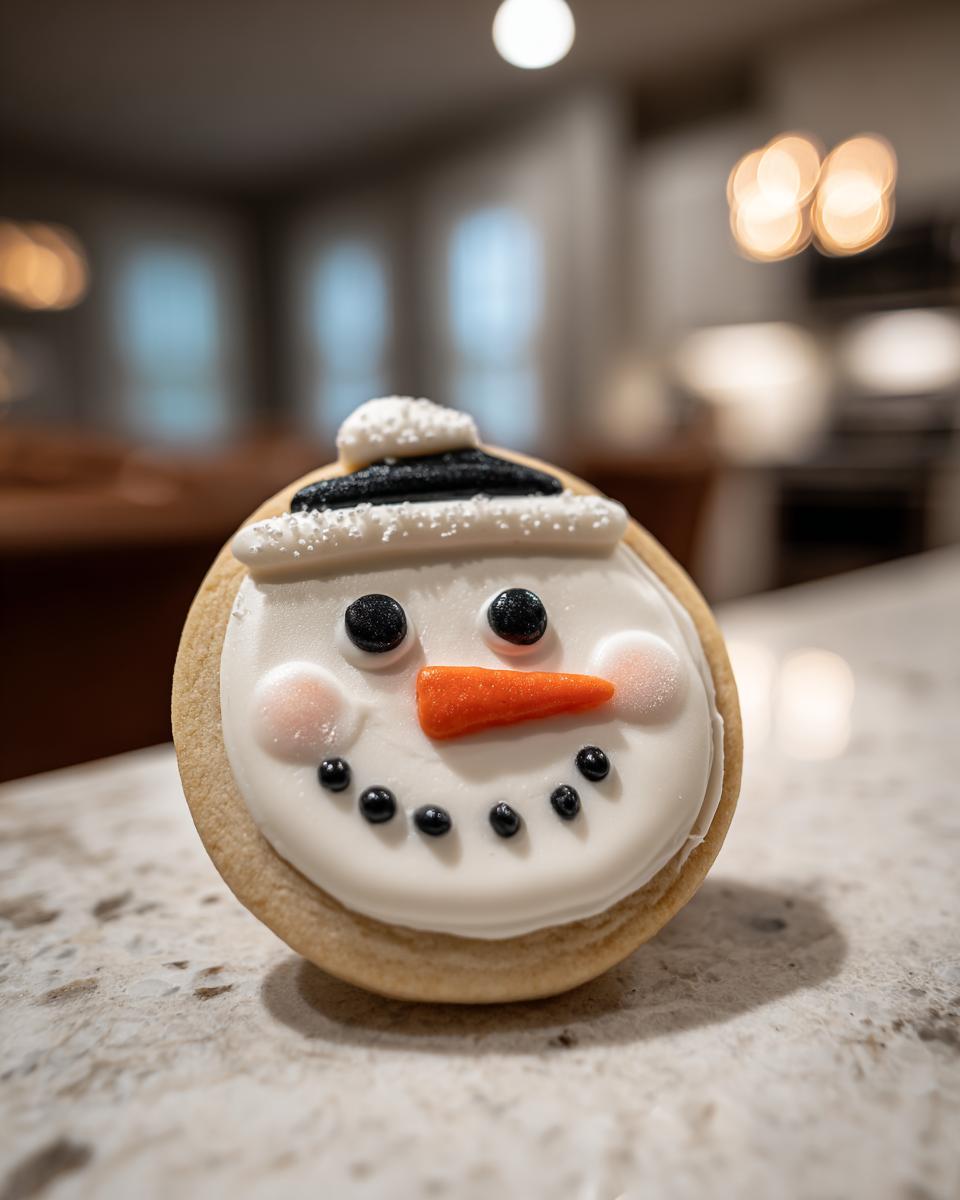
This is where the magic really happens! Once your Snowman Hat Cookies are totally cool – I mean, completely cool, trust me! – grab your decorating icing and frosting. Take your black icing and carefully draw a band around the base of the top circle, connecting it to the brim. It gives it that perfect hat shape! Next, use the orange icing to draw a cute little carrot nose right on the top circle. Then, pull out your white frosting to add two little dots for eyes and draw a happy little mouth. You can even add a little swirl on top if you’re feeling fancy! These little details make your Snowman Hat Cookies truly come to life and so extra special.
Tips for Perfect Snowman Hat Cookie Success
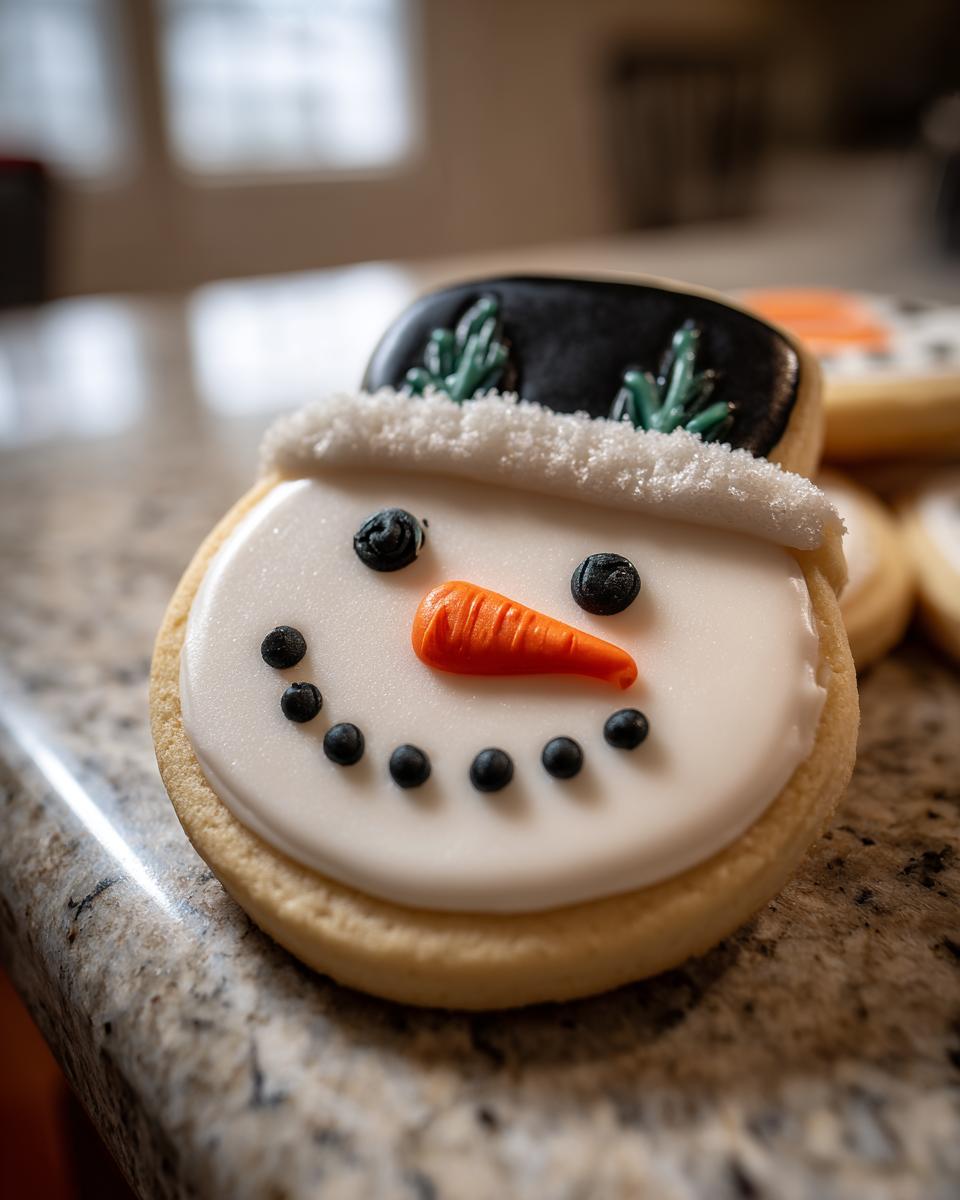
Making these little guys is pretty foolproof, but here are a few of my go-to tricks to make sure your Snowman Hat Cookies turn out absolutely perfect every single time. First, don’t rush that chilling step! I know it’s tempting to jump right in, but letting the dough chill properly is crucial. It makes it so much easier to handle and really helps prevent your cookies from spreading into sad little puddles in the oven. Also, when you’re rolling out the dough, try to keep the thickness consistent. If some parts are thinner than others, they’ll bake faster and might burn before the thicker parts are done.
When it comes to decorating, a clean, smooth surface is key. Make sure your cookies are totally, absolutely cool before you even *think* about touching them with icing. If they’re even a little warm, the icing will melt and slide right off, creating a messy situation. And finally, if your decorating icing is too thick, just a tiny splash of water can help thin it out – but go slow! You want it to be pipeable, not watery. Happy baking!
Ingredient Notes and Substitutions for Your Snowman Hat Cookies
Let’s chat about some of the key players in our Snowman Hat Cookies! That softened butter? It’s super important because it creams beautifully with the sugar, creating tiny air pockets that give our cookies that perfect, tender texture without making them spread too much. If your butter is too cold, it won’t cream well, and if it’s too warm and melty, well, your hats might end up looking like puddles! If you need to swap out the all-purpose flour, a good 1:1 gluten-free baking blend usually works, but watch the dough closely as it might behave a little differently.
For the decorating icing and frosting, feel free to use store-bought tubes to save time, or whip up your own! For homemade icing, just mix powdered sugar with a tiny bit of milk or water until you get a thick but pipeable consistency. Maybe add a drop of black food coloring for your hat bands, and some orange for the nose. If you don’t have white frosting, a bit of royal icing works wonders too!
Frequently Asked Questions about Snowman Hat Cookies
Got questions about these cute Snowman Hat Cookies? I’ve got answers!
Can I make these cookies ahead of time?
Absolutely! The un-decorated cookies can be baked up to 2-3 days in advance and stored in an airtight container at room temperature. Just wait until you’re ready to decorate them for the freshest, prettiest finish!
How do I store decorated snowman hat cookies?
Once they’re all decorated and the icing is completely dry – give it a few hours for good measure – store your finished Snowman Hat Cookies in an airtight container. Layering them with parchment paper between rows is a good idea so the decorations don’t get smudged. They’ll keep well at room temperature for about a week!
What if my dough is too sticky?
No worries if your dough feels too sticky! That usually means it needs a bit more chilling. Pop it back in the fridge for another 15-20 minutes. If it’s still a bit tricky to handle when rolling, lightly dust your surface and your rolling pin with a little extra flour, but be careful not to add too much or your cookies might be tough.
Can I use different cookie cutters for my snowman hats?
You sure can! The recipe is super forgiving. If you don’t have a perfectly sized smaller circle cutter for the top part of the hat, just use another round cutter that’s a bit smaller than your brim cutter. You can even use a sharp knife to carefully cut out a circle instead. Get creative with whatever you have!
Nutritional Information for Snowman Hat Cookies
Keep in mind that these numbers are just estimates, and they can change a bit depending on the exact ingredients and brands you use. But for one of these adorable Snowman Hat Cookies, you’re looking at roughly:
- Calories: 150
- Fat: 8g
- Protein: 2g
- Carbohydrates: 18g
- Sugar: 10g
- Sodium: 50mg
It’s always a treat, so enjoy them!
Print
Snowman Hat Cookies
- Total Time: 42 min
- Yield: 24 cookies 1x
- Diet: Vegetarian
Description
Easy and fun cookies shaped like snowman hats, perfect for holiday baking.
Ingredients
- 1 cup unsalted butter, softened
- 1/2 cup granulated sugar
- 1 large egg
- 1 teaspoon vanilla extract
- 2 1/2 cups all-purpose flour
- 1/2 teaspoon baking powder
- 1/4 teaspoon salt
- Black decorating icing
- Orange decorating icing
- White frosting
Instructions
- Cream together the softened butter and granulated sugar until light and fluffy.
- Beat in the egg and vanilla extract.
- In a separate bowl, whisk together the flour, baking powder, and salt.
- Gradually add the dry ingredients to the wet ingredients, mixing until just combined.
- Divide the dough in half. Wrap each half in plastic wrap and chill for at least 30 minutes.
- Preheat your oven to 350°F (175°C). Line baking sheets with parchment paper.
- On a lightly floured surface, roll out one half of the dough to about 1/4-inch thickness.
- Use a round cookie cutter to cut out circles for the brim of the hat.
- Use a smaller round cutter or a knife to cut out a smaller circle for the top of the hat.
- Place the brim and top circles onto the prepared baking sheets.
- Repeat with the remaining dough.
- Bake for 10-12 minutes, or until the edges are lightly golden.
- Let the cookies cool on the baking sheets for a few minutes before transferring them to a wire rack to cool completely.
- Once cooled, use black decorating icing to draw a band around the base of the top circle and connect it to the brim.
- Use orange decorating icing to draw a small carrot nose on the top circle.
- Use white frosting to add details like eyes and a mouth.
Notes
- You can use different sized round cutters to create various hat sizes.
- Consider adding sprinkles for extra decoration.
- Ensure cookies are completely cool before decorating.
- Prep Time: 30 min
- Cook Time: 12 min
- Category: Dessert
- Method: Baking
- Cuisine: American
Nutrition
- Serving Size: 1 cookie
- Calories: 150
- Sugar: 10g
- Sodium: 50mg
- Fat: 8g
- Saturated Fat: 5g
- Unsaturated Fat: 3g
- Trans Fat: 0g
- Carbohydrates: 18g
- Fiber: 1g
- Protein: 2g
- Cholesterol: 25mg
Keywords: snowman cookies, hat cookies, holiday cookies, Christmas baking, sugar cookies, decorated cookies

