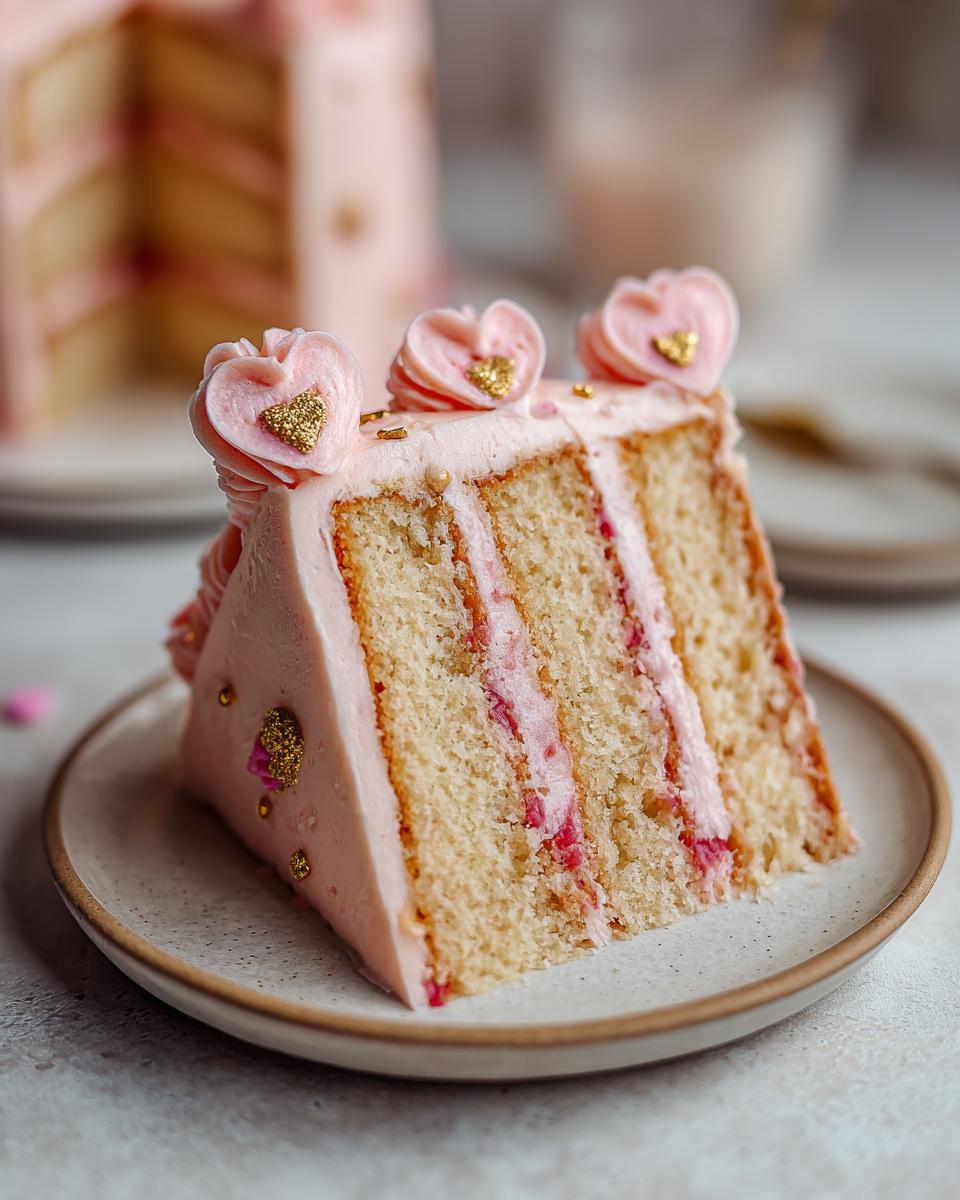
There’s something magical about baking a birthday cake during Leo season – all that fiery passion just begs for a showstopping dessert! I still remember the first time I attempted a vintage-inspired cake for my sister’s August birthday. The moment I piped those little red hearts along the edges, I knew I’d created something special. This recipe captures that same romantic aesthetic with its tender crumb and playful heart decorations. Whether you’re celebrating a Leo’s big day or just craving a dose of nostalgia, this cake wraps all the warmth of summertime birthdays in one delicious package. The best part? That first slice reveals layers of love (and maybe a secret sprinkle of edible gold dust – because Leos deserve the royal treatment).
Why You’ll Love This Vintage Cake Inspo
This isn’t just any birthday cake – it’s a celebration of Leo season wrapped in buttercream and nostalgia! Here’s why it’ll steal your heart:
- Romantic aesthetic: The vintage-inspired design with delicate hearts makes every slice feel like a love letter
- Fiery Leo energy: Edible gold accents give that bold, regal touch perfect for lion-hearted birthdays
- Simple elegance: Basic techniques create stunning results (no professional decorating skills needed!)
- Customizable charm: Make it your own with different color schemes while keeping that signature vintage vibe
I swear, the moment you pull this golden beauty from the oven, you’ll feel like you’ve stepped into a 1950s birthday party – complete with all the warm fuzzies!
Ingredients for the Perfect Vintage Cake
Let’s talk ingredients – and I mean the real-deal, makes-all-the-difference kind! Every time I bake this cake, I imagine my grandmother nodding approvingly at my ingredient choices. She’d always say, “Good baking starts with good ingredients,” and boy was she right.
Here’s exactly what you’ll need:
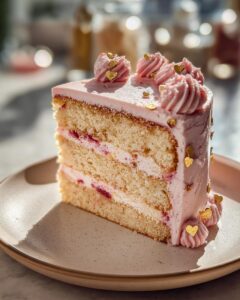
- 2 cups all-purpose flour – spooned and leveled (no packing it in!)
- 1 1/2 cups granulated sugar – the sweet foundation of our vintage masterpiece
- 1/2 cup unsalted butter – softened to that perfect “finger-dent” consistency (take it out 30 minutes before you start)
- 3 large eggs – room temperature is crucial for that velvety batter
- 1 cup whole milk – though I sometimes use buttermilk when I’m feeling fancy
- 2 tsp baking powder – our little leavening miracle worker
- 1 tsp vanilla extract – the good stuff, not imitation!
- 1/2 tsp salt – just enough to balance the sweetness
- Red food coloring – gel works best for those vibrant hearts (trust me, the liquid stuff waters down your frosting)
Pro tip from my many kitchen experiments: measure everything before you start mixing. There’s nothing worse than realizing you’re short on butter mid-recipe! And if you’re feeling extra festive, grab some edible gold dust – because what’s a Leo birthday cake without some golden glam?
Essential Equipment for Baking
Now, let’s talk tools – because even the simplest vintage cakes need a little help from our kitchen friends! You probably have most of these already, but I’ll walk you through my must-haves:
- 2 mixing bowls (one for wet, one for dry ingredients – keeps everything happy)
- 9-inch round cake pan (the classic for that perfect vintage shape)
- Hand mixer (though a strong arm and whisk will do in a pinch!)
- Piping bags & tips (star tip #21 is my go-to for those adorable hearts)
- Spatula (for scraping every last bit of that delicious batter)
That’s it! No fancy gadgets needed – just like our grandmothers used to bake. Though I will say, a rotating cake stand makes decorating way more fun if you’ve got one!
Step-by-Step Baking Instructions
Alright, let’s get baking! I’ve made this vintage cake more times than I can count, and I’ve learned all the little tricks to make it foolproof. Follow along, and you’ll have a showstopper in no time!
Prepping Like a Pro
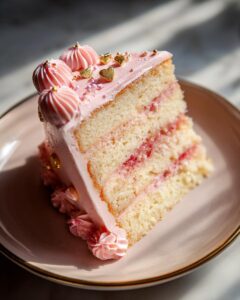
First things first – preheat that oven to 350°F (175°C). While it’s warming up, take a moment to prepare your pan. I like to butter and flour mine generously – those vintage cakes need to slide out perfectly! If you’re nervous about sticking, cut a circle of parchment for the bottom too.
The Magic of Creaming
Now for the fun part! In your mixing bowl, beat that softened butter and sugar together until it’s light and fluffy. This takes about 2 minutes with a mixer (or 5 if you’re going old-school with a wooden spoon). You’ll know it’s ready when the mixture turns pale yellow and looks almost like whipped cream. Don’t rush this step – it creates those tiny air pockets that make your cake wonderfully tender.
Eggs-cellent Additions
Add your eggs one at a time, mixing well after each one. Here’s my secret: crack each egg into a small bowl first to avoid shell disasters! The batter might look a bit curdled after the eggs – don’t panic! It’ll all come together beautifully when we add the dry ingredients.
Dry Meets Wet
In another bowl, whisk together your flour, baking powder, and salt. Now comes the alternating dance: add about a third of your dry ingredients to the butter mixture, mix until just combined, then half the milk. Repeat, ending with the last of the dry ingredients. The batter should be smooth but don’t overmix – a few small flour streaks are fine!
Into the Oven
Pour your gorgeous batter into the prepared pan and smooth the top. Bake for 30-35 minutes, but start checking at 25. The cake is done when it’s golden, springs back when lightly pressed, and a toothpick comes out with moist crumbs (not wet batter).
The Waiting Game
Here’s the hardest part – let it cool completely before decorating! I know, I know, the smell is irresistible. But trust me, warm cake + frosting = sliding mess. Patience makes perfect vintage cakes!
And there you have it – the foundation for your Leo season masterpiece. Now comes the really fun part – decorating with all those gorgeous hearts and gold details!
Decorating with Vintage Heart Inspo
Oh, the decorating – this is where the magic really happens! My hands still get a little shaky with excitement every time I pipe those first few hearts. Here’s how we’ll bring that dreamy vintage vibe to life:
Start with a simple buttercream frosting (my go-to is equal parts butter and powdered sugar whipped until cloud-like). For the hearts, we’re using gel food coloring – just a tiny drop of red creates that perfect retro pink. Load some into a piping bag with a star tip and practice your hearts on parchment first. Don’t stress about perfection – slightly wonky hearts add charm!
The real showstopper? Edible gold dust! After frosting the cake, I lightly brush gold onto the edges with a clean makeup brush (yes, really!). It catches the light beautifully and gives that extra Leo-season glam. Finish with scattered heart sprinkles or piped rosettes around the base. The final touch? A single gold-dusted candle in the center – because every Leo deserves their moment to shine!
Tips for the Best Vintage Cake
After baking this cake more times than I can count (and eating even more slices!), I’ve gathered some foolproof tricks to make your vintage masterpiece shine:
- Buttermilk magic: Swap the milk for buttermilk – it adds incredible richness and keeps the cake moist for days
- Temperature matters: Room temp ingredients blend better – cold eggs can make your batter curdle
- Don’t overmix: Stop stirring as soon as ingredients are combined to avoid a tough crumb
- Bake on center rack: This ensures even heat distribution for that perfect golden color
- Fresh decorations: Pipe hearts right before serving so they stay crisp and vibrant
Remember – the best vintage cakes aren’t perfect, they’re made with love (and maybe a little extra butter)!
Serving Suggestions & Storage
Picture this: your gorgeous vintage cake sitting pretty on Grandma’s cake stand, just begging to be sliced! I love serving it with a scoop of vanilla bean ice cream – the cold creaminess plays perfectly against the tender cake. For an extra Leo-season touch, drizzle some warm caramel or sprinkle edible gold stars on top!
Now, about leftovers (if you’re lucky enough to have any!): Store slices in an airtight container at room temperature for 2-3 days. The frosting might soften a bit, but honestly? That just makes it taste more homemade to me. If you need to refrigerate it, let it come to room temp before serving – cold buttercream is no one’s friend. Pro tip: The cake actually gets more flavorful by day two as all those lovely vanilla notes deepen. Just try not to eat it all in one sitting – I dare you!
Nutritional Information
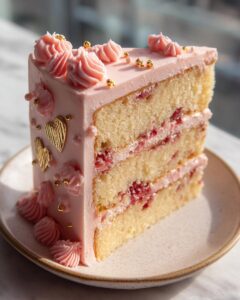
Here’s the skinny on this indulgent vintage cake (because let’s be real – birthdays are for celebrating, not counting calories!): Each slice packs about 320 calories, with 25g of sugar and 12g of fat – basically a delicious hug for your taste buds. Keep in mind these values can vary slightly depending on your specific ingredients and decoration choices. After all, a few extra gold sprinkles never hurt anybody!
Frequently Asked Questions
Can I make this cake ahead of time?
Absolutely! The unfrosted cake keeps beautifully for 2 days wrapped in plastic at room temp. For best results, decorate no more than 6 hours before serving – those vintage hearts stay picture-perfect that way.
What if I don’t have piping bags for the hearts?
No worries! A ziplock bag with the corner snipped works in a pinch. Or go rustic – use a butter knife to make simple heart shapes in the frosting. The charm is in the handmade look!
Can I use food coloring paste instead of gel?
Yes, but go easy – pastes are super concentrated! Start with a toothpick dip’s worth and add more as needed. The key is that soft vintage pink, not neon!
How do I adapt this for cupcakes?
Same batter works great! Fill liners 2/3 full and bake 18-20 minutes. Mini heart sprinkles make adorable toppers – perfect for Leo season parties!
What’s the best way to transport this cake?
I swear by a cake carrier with non-slip mat. No carrier? Set your cake plate on a towel-lined baking sheet in the car. Drive like you’re carrying precious cargo (because you are!).
Share Your Vintage Cake Creations
I can’t wait to see how your vintage cake turns out! Tag me on Instagram with your heart-covered masterpieces – I get giddy seeing all your Leo season creations. Did you add a special twist? Drop a comment below and share your baking adventures. Nothing makes me happier than seeing this recipe spark joy in other kitchens!
Print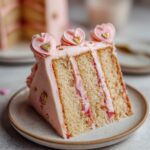
Vintage Cake Inspo: 35-Minute Leo Season Birthday Delight
- Total Time: 55 minutes
- Yield: 1 cake (8 servings) 1x
- Diet: Vegetarian
Description
A vintage-inspired cake perfect for Leo season birthdays, featuring heart decorations and a romantic aesthetic.
Ingredients
- 2 cups all-purpose flour
- 1 1/2 cups granulated sugar
- 1/2 cup unsalted butter, softened
- 3 large eggs
- 1 cup whole milk
- 2 tsp baking powder
- 1 tsp vanilla extract
- 1/2 tsp salt
- Red food coloring (optional for heart decor)
Instructions
- Preheat oven to 350°F (175°C). Grease and flour a round cake pan.
- In a bowl, cream butter and sugar until light and fluffy.
- Add eggs one at a time, mixing well after each addition.
- Stir in vanilla extract.
- In a separate bowl, whisk flour, baking powder, and salt.
- Alternately add dry ingredients and milk to the butter mixture, starting and ending with dry ingredients.
- Pour batter into prepared pan and bake for 30-35 minutes or until a toothpick comes out clean.
- Let cool completely before decorating with vintage-inspired designs and hearts.
Notes
- For a richer flavor, substitute buttermilk for whole milk.
- Use gel food coloring for vibrant heart decorations.
- Decorate with edible gold dust for a vintage touch.
- Prep Time: 20 minutes
- Cook Time: 35 minutes
- Category: Dessert
- Method: Baking
- Cuisine: American
Nutrition
- Serving Size: 1 slice
- Calories: 320
- Sugar: 25g
- Sodium: 150mg
- Fat: 12g
- Saturated Fat: 7g
- Unsaturated Fat: 4g
- Trans Fat: 0g
- Carbohydrates: 48g
- Fiber: 1g
- Protein: 5g
- Cholesterol: 85mg
Keywords: vintage cake, heart cake, Leo birthday, romantic cake, birthday dessert

