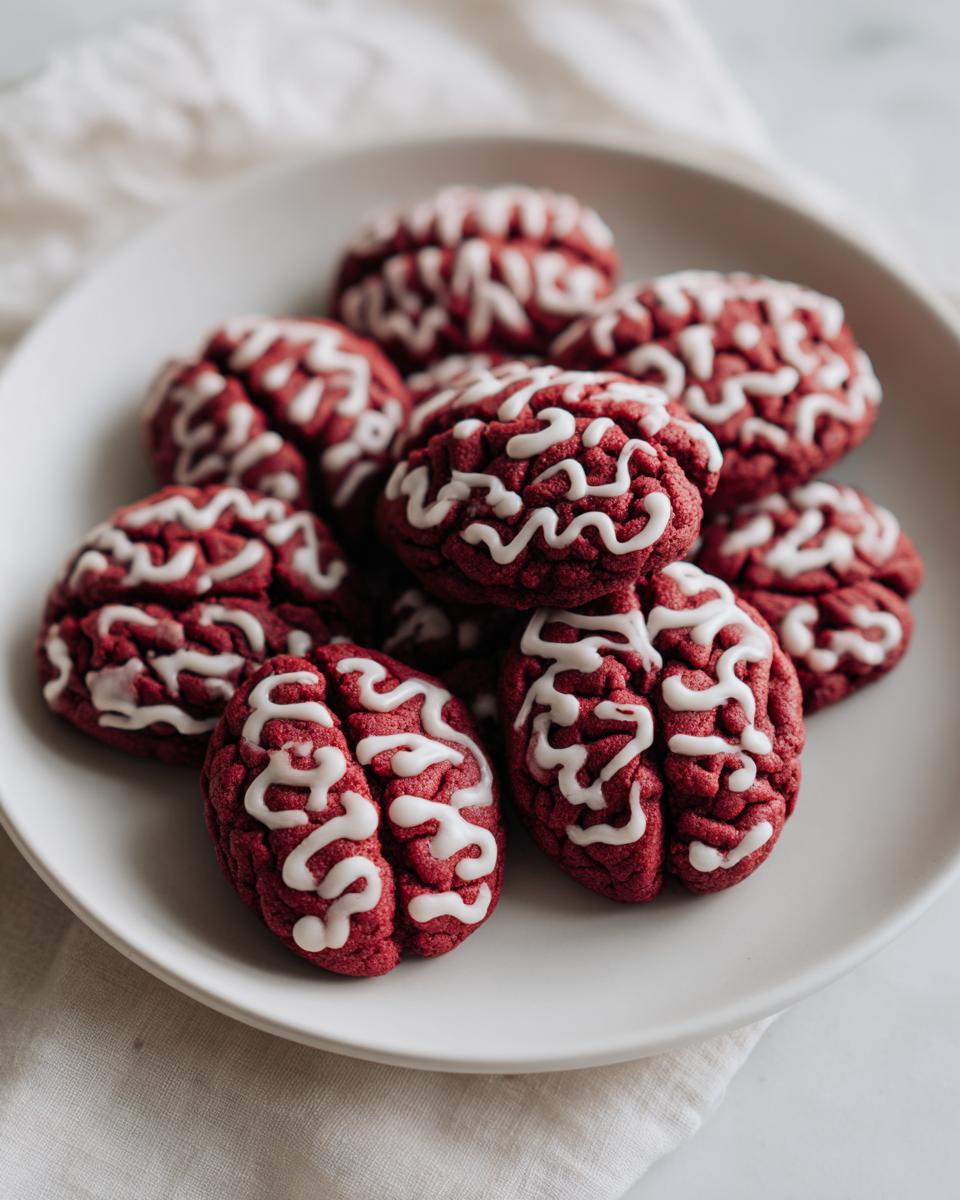
Picture this: It’s Halloween night, and a plate of these terrifyingly delicious Gruesome 12 Zombie Brain Cookies sits ominously on your dessert table. The moment I first made these creepy treats for my niece’s haunted house party, they disappeared faster than ghosts at sunrise! There’s something magical about combining sweet cookie dough with that perfect eerie brain shape – it’s equal parts hilarious and horrifying.
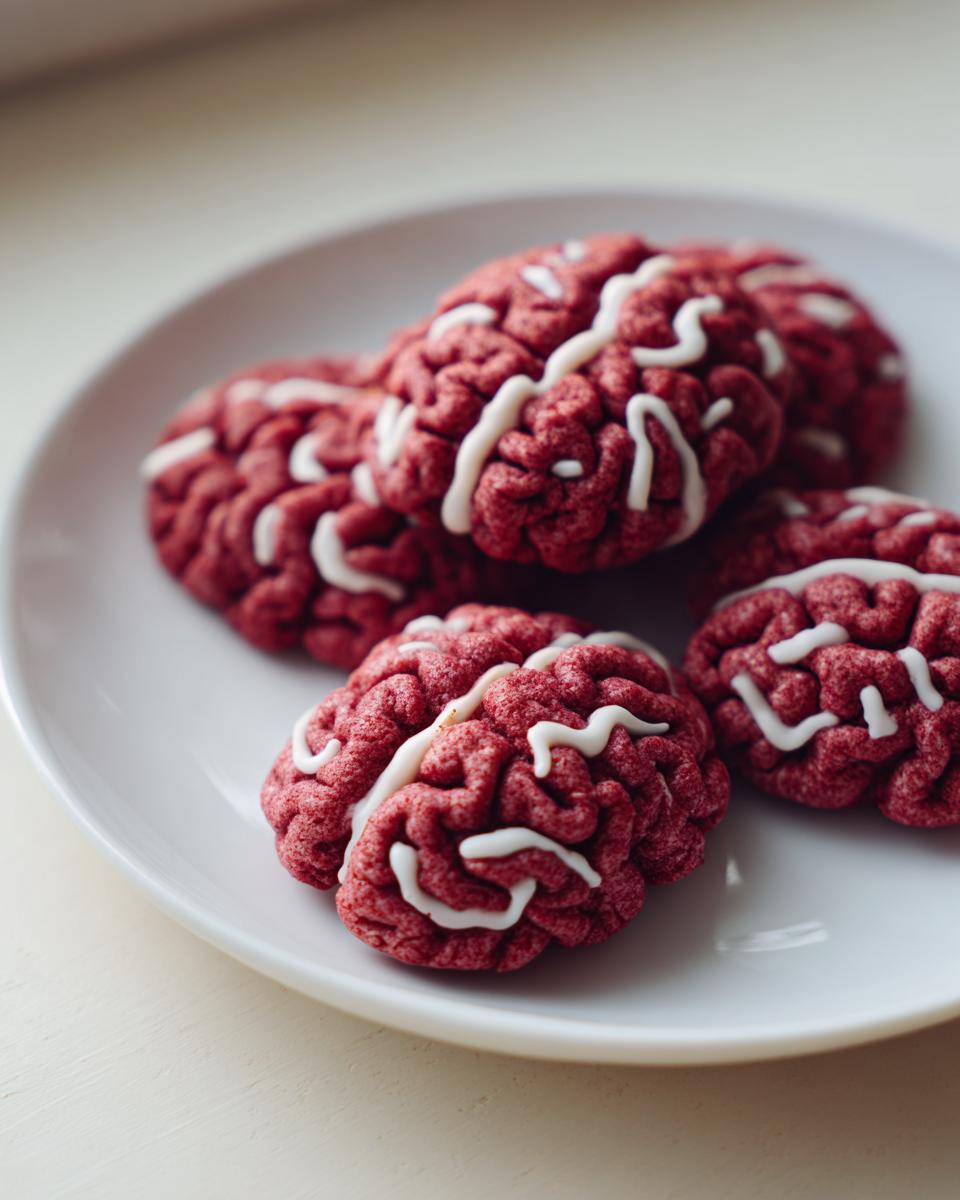
What I love most about these zombie brain cookies is how they turn something delicious into something delightfully disturbing. The twisted red dough ropes? Pure edible art. The white icing details? That’s where the real zombie magic happens. Whether you’re hosting a monster bash or just want to freak out your coworkers at lunch, these cookies never fail to get reactions. Trust me – the shocked looks and nervous giggles before people dig in are almost as fun as eating them!
Why You’ll Love These Gruesome 12 Zombie Brain Cookies
These aren’t your average sugar cookies – they’re a full-on Halloween experience! Here’s why they’ve become my go-to spooky treat year after year:
- Instant party hit: I’ve never brought these to a gathering without hearing screams (the good kind!) followed by people fighting over the last one.
- Easier than they look: That impressive brain texture? Just twisted dough ropes – my 8-year-old nephew can do it (and loves playing mad scientist with the red food coloring).
- Customizable creepiness: Go subtle with pinkish “fresh” brains or full gore with deep red veins – I like doing both for variety.
- Perfect for non-bakers: If you can mix cookie dough and squeeze icing, you’ve got this. My first batch looked messy but still got devoured!
Seriously, these cookies make everyone feel like a kid again – equal parts thrilled and slightly grossed out in the best possible way.
Ingredients for Gruesome 12 Zombie Brain Cookies
Here’s everything you’ll need to create these delightfully disturbing treats – trust me, most are probably already in your pantry! The magic happens when simple ingredients transform into something gloriously gruesome. Just wait until you see that plain dough turn into oozing zombie brains!
- 2 cups all-purpose flour – spooned and leveled (no packed flour here, or your brains will be too dense)
- 1/2 cup (1 stick) unsalted butter – softened but still cool to the touch (leave it out for about 30 minutes)
- 3/4 cup granulated sugar – I’ve found this is the perfect sweetness balance against the red food coloring
- 1 large egg – straight from the fridge is fine, it’ll warm up while mixing
- 1 teaspoon pure vanilla extract – the good stuff makes a difference!
- 1/2 teaspoon baking powder – gives our brains just the right amount of lift
- 1/4 teaspoon fine salt – balances all that sweetness
- Red gel food coloring – I prefer gel over liquid for vibrant, blood-red brains that won’t thin your dough
- 1/2 cup white decorating icing – for piping those gross-but-awesome brain wrinkles
Pro tip from my many zombie cookie disasters: Measure everything before starting! When you’re in the middle of twisting brain shapes, you don’t want to realize you’re short on red dye. I’ve had to improvise with beet juice before – tasty but not quite the same horror effect.
Equipment You’ll Need
Don’t worry – you won’t need any mad scientist lab equipment for these zombie brains! Just grab these basic kitchen tools (I bet you have most already):
- Large mixing bowl – for bringing our creepy cookie dough to life
- Hand mixer or stand mixer – though I’ve mixed it by hand when desperate (and angry arm workouts count as zombie prep, right?)
- Baking sheet – lined with parchment so brains don’t stick
- Piping bag with small round tip – or a ziplock with the corner snipped in a pinch
- Rubber spatula – for scraping every last bit of “brain matter” from the bowl
That’s it! No fancy gadgets needed – just like my grandma always said, “Good cookies come from messy hands, not expensive tools.”
How to Make Gruesome 12 Zombie Brain Cookies
Alright, it’s time to bring these terrifying treats to life! I promise it’s easier than it looks – if my butter-fingers can do it, so can you. Just follow these steps for the most gloriously gross zombie brains your Halloween party has ever seen.
Preparing the Dough
First, let’s make our “brain matter” base. In a medium bowl, whisk together the flour, baking powder and salt – this is your dry “zombie dust” mixture. In your larger bowl, cream the butter and sugar until it’s light and fluffy (about 2 minutes with a mixer). Now for the magic – beat in the egg and vanilla until just combined. Gradually add your dry ingredients, mixing until a soft dough forms. Here’s my secret: divide the dough in half and tint one portion with red food coloring (I use about 10-12 drops of gel for properly gory brains). Wrap both dough balls in plastic and chill for 30 minutes – this makes the next step WAY easier.
Shaping the Zombie Brains
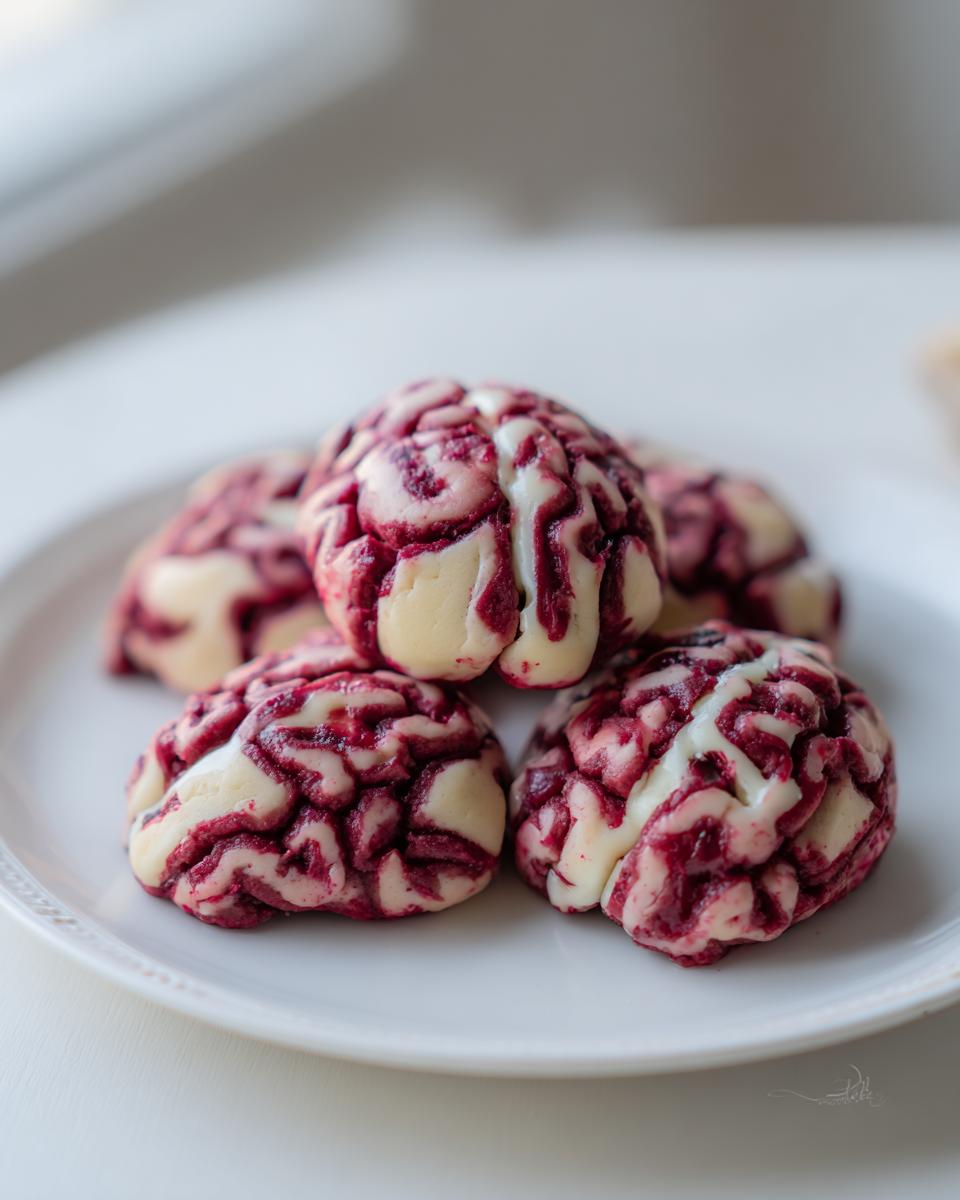
Now the fun part – creating those creepy brain shapes! Working with one dough color at a time (keep the other chilled), roll tablespoon-sized portions into 6-inch ropes. Twist one red and one plain rope together like a candy cane – don’t make it too perfect, lumpy brains look more realistic! Coil the twisted ropes into brain-like mounds on your baking sheet. Pro tip: make some indentations with your finger to create that signature wrinkled brain look. Repeat until all dough is used – you should get about 12 gloriously gross brains. Pop the tray in the fridge for 10 minutes before baking – this prevents spreading.
Baking and Decorating
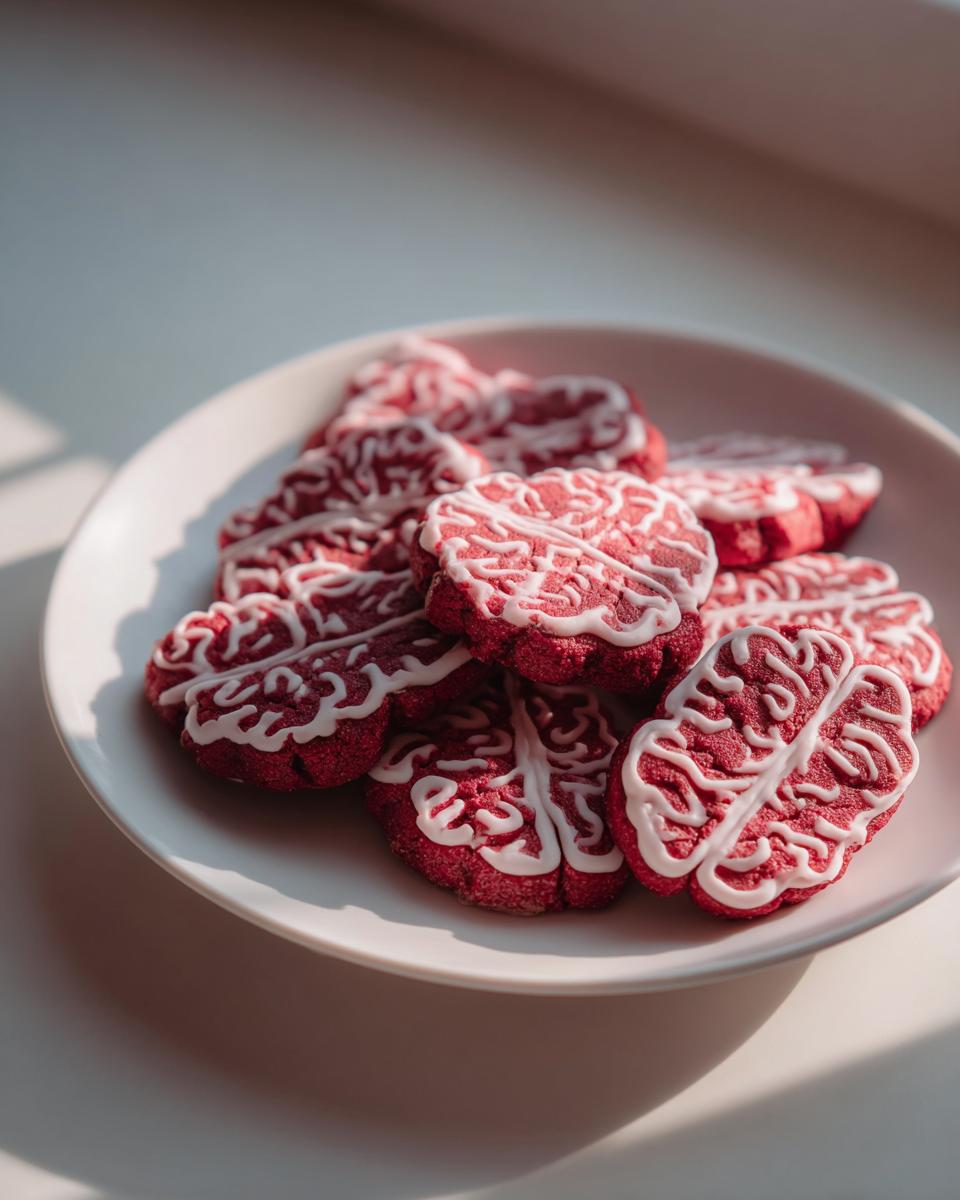
Bake at 350°F for 10-12 minutes – the edges should be just golden but the centers still soft. Let them cool completely (I know it’s hard to wait!). Now for the finishing touches: pipe white icing in squiggly lines to highlight the brain wrinkles. Go crazy with it – the messier it looks, the better! For extra horror, add some red gel “blood” drips. I like to dust mine with edible black powder in the crevices for that freshly-dug-up-from-the-grave look. Just try not to eat them all before your guests arrive!
Tips for Perfect Gruesome 12 Zombie Brain Cookies
After making these spooky cookies every Halloween for years (and learning from some hilarious disasters), here are my can’t-miss tricks for zombie brain perfection:
- Chill that dough! I know it’s tempting to skip this step, but cold dough holds those brain wrinkles way better. I once rushed it and ended up with zombie pancakes instead.
- Gel food coloring for the win. Liquid dye makes dough sticky and pale – gel gives that deep, gory red without altering texture. Add it gradually until you get your ideal “fresh corpse” shade.
- Thicken your icing right. If it’s too runny, add powdered sugar; too thick? A drop of milk. The perfect consistency should pipe smoothly but hold its gross little ridges.
- Bake one test brain first. Ovens vary – my mom’s burns them in 9 minutes while mine needs 12. One sacrificial brain saves the whole batch!
Remember – imperfect brains are actually perfect. Real zombies aren’t neat, and neither should your cookies be!
Variations for Your Gruesome 12 Zombie Brain Cookies
Want to put your own terrifying twist on these treats? Try these easy swaps I’ve tested over the years:
- Chocolate zombie brains: Replace 1/4 cup flour with cocoa powder – dark brains look extra decayed!
- Green monster brains: Use mint extract and green dye for Frankenstein vibes.
- Spooky spice: Add 1 tsp cinnamon and 1/4 tsp cayenne for brains with a kick.
The beauty? These cookies forgive creativity – just keep that creepy texture!
Serving and Storing Gruesome 12 Zombie Brain Cookies
Presentation is everything with these creepy cookies! I love arranging them on a surgical tray (dollar store finds work great) with plastic “scalpels” for serving utensils. For storage, keep them in an airtight container at room temperature – they’ll stay fresh for up to 5 days… if they last that long! The icing details hold up surprisingly well, though I recommend adding fresh “blood” drips right before serving for maximum horror effect.
Nutritional Information
Here’s the spooky scoop on these zombie brains: Each cookie contains about 150 calories – but who’s counting when you’re eating fake brains? Remember, these are just estimates and will vary slightly based on your specific ingredients. The undead don’t care about nutrition labels anyway!
Frequently Asked Questions
After years of terrifying (and delighting) people with these zombie brain cookies, I’ve heard every question imaginable! Here are the answers to the ones I get asked most:
Can I make these cookies ahead of time?
Absolutely! The dough keeps beautifully in the fridge for 3 days or freezer for a month (thaw overnight before using). Baked cookies stay fresh in an airtight container for 5 days – though the icing details are best added within 24 hours of serving for maximum creep factor.
What’s the best way to achieve the brain texture?
The secret is in the twist! Roll your dough ropes thinner than you think (about pencil-width), then loosely twist one red and one plain rope together. Don’t overthink it – irregular twists make the most realistic brain wrinkles. Pro tip: pinch some sections to create deeper “folds” before baking.
Can I use gluten-free flour?
Yes! I’ve had great results with 1:1 gluten-free flour blends. The texture might be slightly more delicate when shaping, so chill the dough extra well. My celiac friend says they’re just as terrifyingly delicious!
How do I prevent my icing from running?
Make sure your cookies are completely cool first! If your icing is too thin, add more powdered sugar until it holds peaks. I like mine at “soft toothpaste” consistency – thick enough to pipe but still easy to squeeze.
Share Your Spooky Creations
I’d love to see your terrifying zombie brain masterpieces! Tag me @SpookyBaker on Instagram with your creepiest cookie creations – bonus points if they make someone scream before taking a bite! Check out more spooky recipes!
Print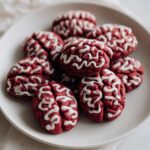
Gruesome 12 Zombie Brain Cookies That’ll Haunt Your Tastebuds
- Total Time: 32 minutes
- Yield: 12 cookies 1x
- Diet: Vegetarian
Description
These gruesome zombie brain cookies are a spooky treat perfect for Halloween. They combine sweet and creepy for a memorable dessert.
Ingredients
- 2 cups all-purpose flour
- 1/2 cup butter, softened
- 3/4 cup sugar
- 1 egg
- 1 tsp vanilla extract
- 1/2 tsp baking powder
- 1/4 tsp salt
- Red food coloring (for brain effect)
- White icing (for detailing)
Instructions
- Preheat your oven to 350°F (175°C).
- Mix flour, baking powder, and salt in a bowl.
- Cream butter and sugar until fluffy, then add egg and vanilla.
- Combine wet and dry ingredients to form dough.
- Divide dough and tint half with red food coloring.
- Roll dough into thin ropes and twist together to form brain shapes.
- Bake for 10-12 minutes or until edges are golden.
- Let cool, then add white icing for brain detailing.
Notes
- Chill dough for easier shaping.
- Use a piping bag for precise icing details.
- Store in an airtight container for freshness.
- Prep Time: 20 minutes
- Cook Time: 12 minutes
- Category: Dessert
- Method: Baking
- Cuisine: American
Nutrition
- Serving Size: 1 cookie
- Calories: 150
- Sugar: 10g
- Sodium: 85mg
- Fat: 6g
- Saturated Fat: 3.5g
- Unsaturated Fat: 2g
- Trans Fat: 0g
- Carbohydrates: 22g
- Fiber: 0.5g
- Protein: 2g
- Cholesterol: 25mg
Keywords: zombie brain cookies, Halloween treats, spooky desserts

